
You've probably heard the "-18 dBFS rule" a dozen times. Set your levels to -18, everything will be fine. But if you've ever wondered why that number matters, or felt like your mixes still sound wrong even with the meters in the right place, gain staging is the missing piece.
Here's what it actually is: making sure every piece of gear in your signal chain gets the right amount of signal. Not so loud that things clip and distort, not so quiet that you're buried in noise, but right in the zone where the circuit does its best work.
In a purely digital setup this is pretty forgiving. Your DAW's 32-bit floating point engine gives you massive internal headroom and you'd have to try pretty hard to break things. But the moment you add analog gear (a preamp, a compressor, an EQ) gain staging becomes the difference between a mix that sounds polished and one that sounds "off" in ways you can't quite put your finger on. For a deep dive into how compressor sidechain design affects behaviour, see our companion article Feedforward vs. Feedback Compression.
What Does -18 dBFS Actually Mean?
Before touching any knobs, you need to understand one relationship: 0 VU on your analog gear = +4 dBu = -18 dBFS in your DAW (under the EBU R68 standard).
This isn't arbitrary. Professional analog gear is designed to operate at +4 dBu, with about 20 dB of headroom above that before hard clipping. When your converter maps +4 dBu to -18 dBFS, your analog meters and digital meters agree. And that's when gain staging actually works.
Here's the thing most people miss: a VU meter shows you the average level, not the peaks. It has a slow, 300 ms response time. A signal reading 0 VU can easily peak at -8 or -6 dBFS on your digital meter, especially on drums where peaks can be 15-20 dB above the average. Totally normal. Don't panic and start adjusting gain because of peak spikes on the digital meter when the VU reads right.
For a clear explanation of how these standards relate, see elysia's "-18 dBFS is the new 0 dBu" and RME's level matching guide.
| Analog (dBu) | VU Meter | Digital (dBFS) EBU R68 |
Notes |
|---|---|---|---|
| +24 dBu | +20 VU | 0 dBFS | Hard clip ceiling (digital max) |
| +18 dBu | +14 VU | -6 dBFS | Typical peak headroom limit for mastering |
| +4 dBu | 0 VU | -18 dBFS | Nominal operating level (the sweet spot) |
| -16 dBu | -20 VU | -38 dBFS | Very quiet -- still 80+ dB above 24-bit noise floor |
Starting at the Preamp: Your First Tonal Decision
The preamp is the first gain stage in your chain, and it does more than just make things louder.
How much gain you need depends on your source:
| Source | Typical Gain Needed |
|---|---|
| Close-miked snare drum | 15-25 dB |
| Vocalist at 6 inches | 35-45 dB |
| Ribbon mic on acoustic guitar | 50-60 dB |
| Quiet room mic | 60-70 dB |
Your goal: bring the signal to around 0 VU / -18 dBFS at the preamp output.
The Creative Part
But look, the amount of gain you use isn't just a technical setting. It's a tonal choice. A transformer-coupled preamp sounds different at 35 dB of gain than at 55 dB, even if you adjust the output to the same level afterwards. More gain drives the amplifier stages and transformers harder, adding harmonic richness, especially in the low end. Transformer saturation happens at low frequencies first, and that's what gives Neve-style preamps that thick warm character when you push them.
We notice this a lot with the HO2 and HO8. Running at high gain with the pad engaged sounds fundamentally different from running at low gain with no pad, even at the same output level. Higher gain drives the six discrete opamps harder, and you hear it. More harmonic content, more "body" in the low mids.
Want more character? Turn up the gain and use the output trim or a pad to bring the level back down. You're driving the preamp harder without blasting the next stage. Want transparency? Use only the gain you need. No more. Simple as that.
One thing to watch out for: never plug a line-level signal into a mic input. The preamp amplifies an already-strong signal, and the result isn't "warm." It's fuzzy and broken.

Z&H HO2 -- six discrete opamps per channel. Push the gain harder with the pad engaged and you hear the difference: more harmonic content, more body in the low mids.
Compressors: Where Input Level Changes Everything
OK, this is where gain staging gets really interesting, because different compressor types respond to level in completely different ways. For the circuit-level details, see Feedforward vs. Feedback Compression.
FET Compressors (1176-Style)
The 1176 has no threshold knob. Let that sink in for a second. You control how much compression you get by how hard you hit the input. More signal in, more gain reduction. That's it.
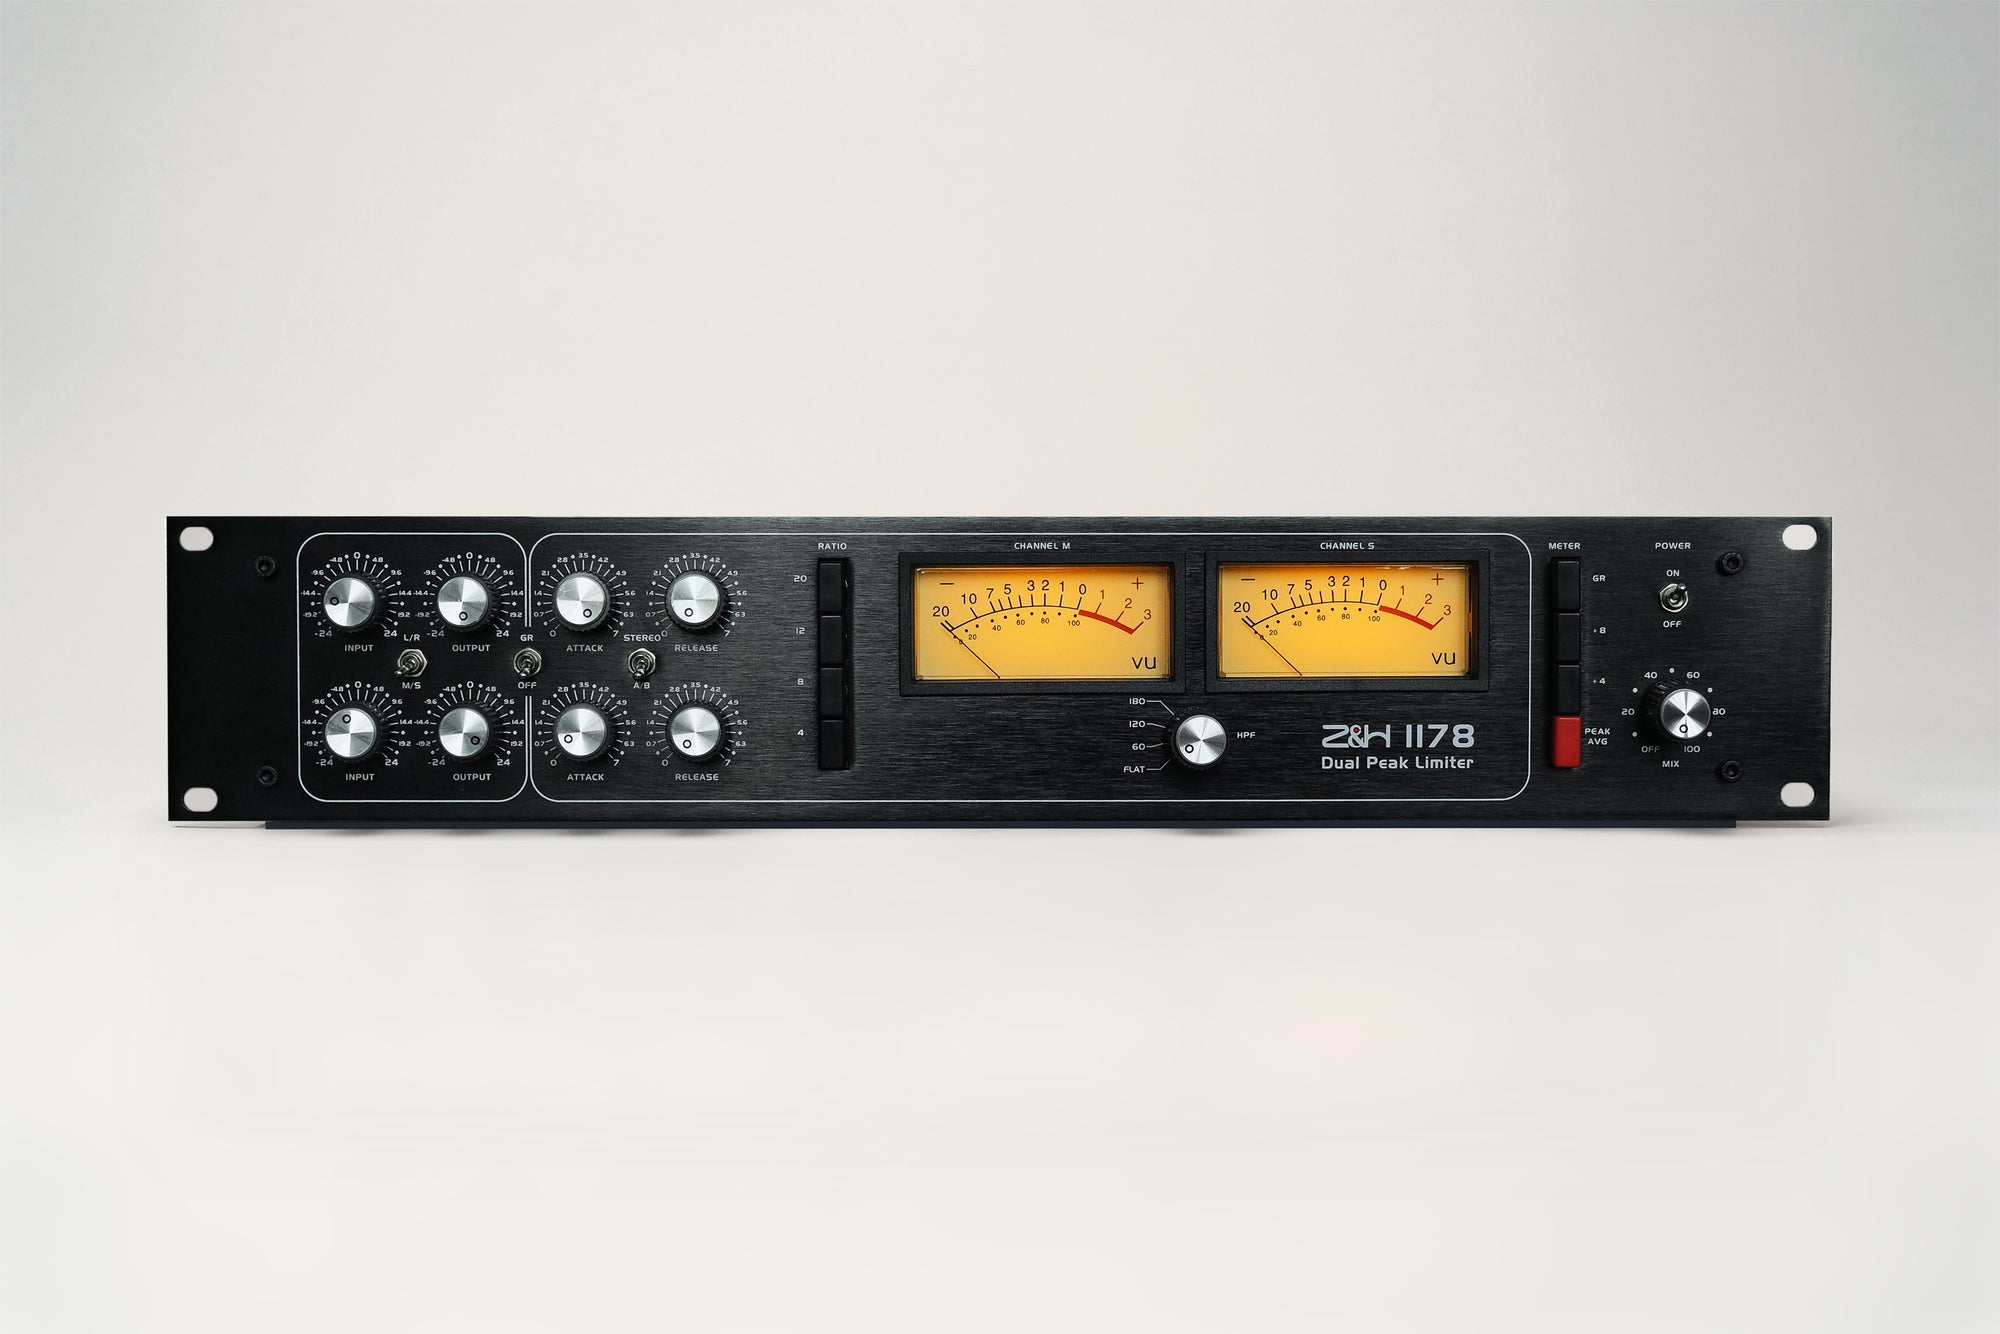
So gain staging a FET compressor isn't optional. It's literally the whole point. The 1178 Stereo Peak Limiter keeps this classic architecture: drive the input until you see 3-6 dB of gain reduction for smooth compression, or 10+ dB if you want aggressive limiting. Then use the output knob to make up the lost level.

Six UREI 1176LN units -- no threshold knob on any of them. The input level IS the threshold. Drive harder, compress more. CC BY-SA 2.0 via Wikimedia Commons
The classic mistake is setting the input too low and cranking the output. You end up with barely any compression and a lot of noise from the output stage. The FET needs to see signal to do its job. We get emails about this more than you'd think.
For mastering, the 1178 Mastering version adds 21-step precision controls on all eight knobs with channels matched to 0.1 dB. In mastering, even 0.5 dB of mismatch between channels shifts the stereo image, so that precision matters.
VCA Compressors
VCA compressors are more straightforward. They have a proper threshold knob, so you set your input level and threshold independently. But the input level still matters: if the signal is too low, the sidechain detector works closer to the noise floor. Too hot and you eat into headroom before any processing even happens.
On a mix bus, the classic SSL-style VCA compressor typically runs with just 1-2 dB of gain reduction on the loudest peaks. If you're seeing more than 3 dB on your bus compressor, the problem usually isn't your compressor settings. Your channels are too loud.

SSL Xlogic G Series -- the VCA bus compressor benchmark. Feed it 0 VU, set threshold independently. 1-2 dB on the mix bus is usually plenty. CC BY 2.0, spacedust2019 via Wikimedia Commons
The Z&H VCA Compressor achieves -95 dBu noise floor and THD below 0.005%, but only when the gain structure is right. Its switchable Glue/Punch mode responds differently to input level. Glue mode (feedback topology) adapts to the programme material. Punch mode (feedforward) is more literal and predictable. Worth trying both on the same source.
Vari-Mu: Handle With Care
Vari-mu compressors are the most level-sensitive type. The tubes themselves create the gain reduction, and they respond to every fraction of a dB.
The sweet spot is "barely compressing." Feed around 0 VU to +2 VU and aim for just 1-3 dB of gain reduction. This is where you hear that three-dimensional warmth and size that makes a Model 670 special. Push too hard and the tubes generate harsh harmonics that aren't flattering. Too little and the compressor barely wakes up. There's a narrow window, and it's worth taking the time to find it.

Fairchild 670 -- the most level-sensitive compressor type. The tubes ARE the gain reduction element. Feed 0 to +2 VU, aim for 1-3 dB of gain reduction. CC BY 2.0, Audio Mix House via Wikimedia Commons

12AX7 dual triode -- used in vari-mu compressor sidechains (including our Model 670). These tubes are inherently imprecise, which is why vari-mu compressors are so sensitive to input level. CC0 / Public Domain via Wikimedia Commons
Optical Compressors: The Easy One
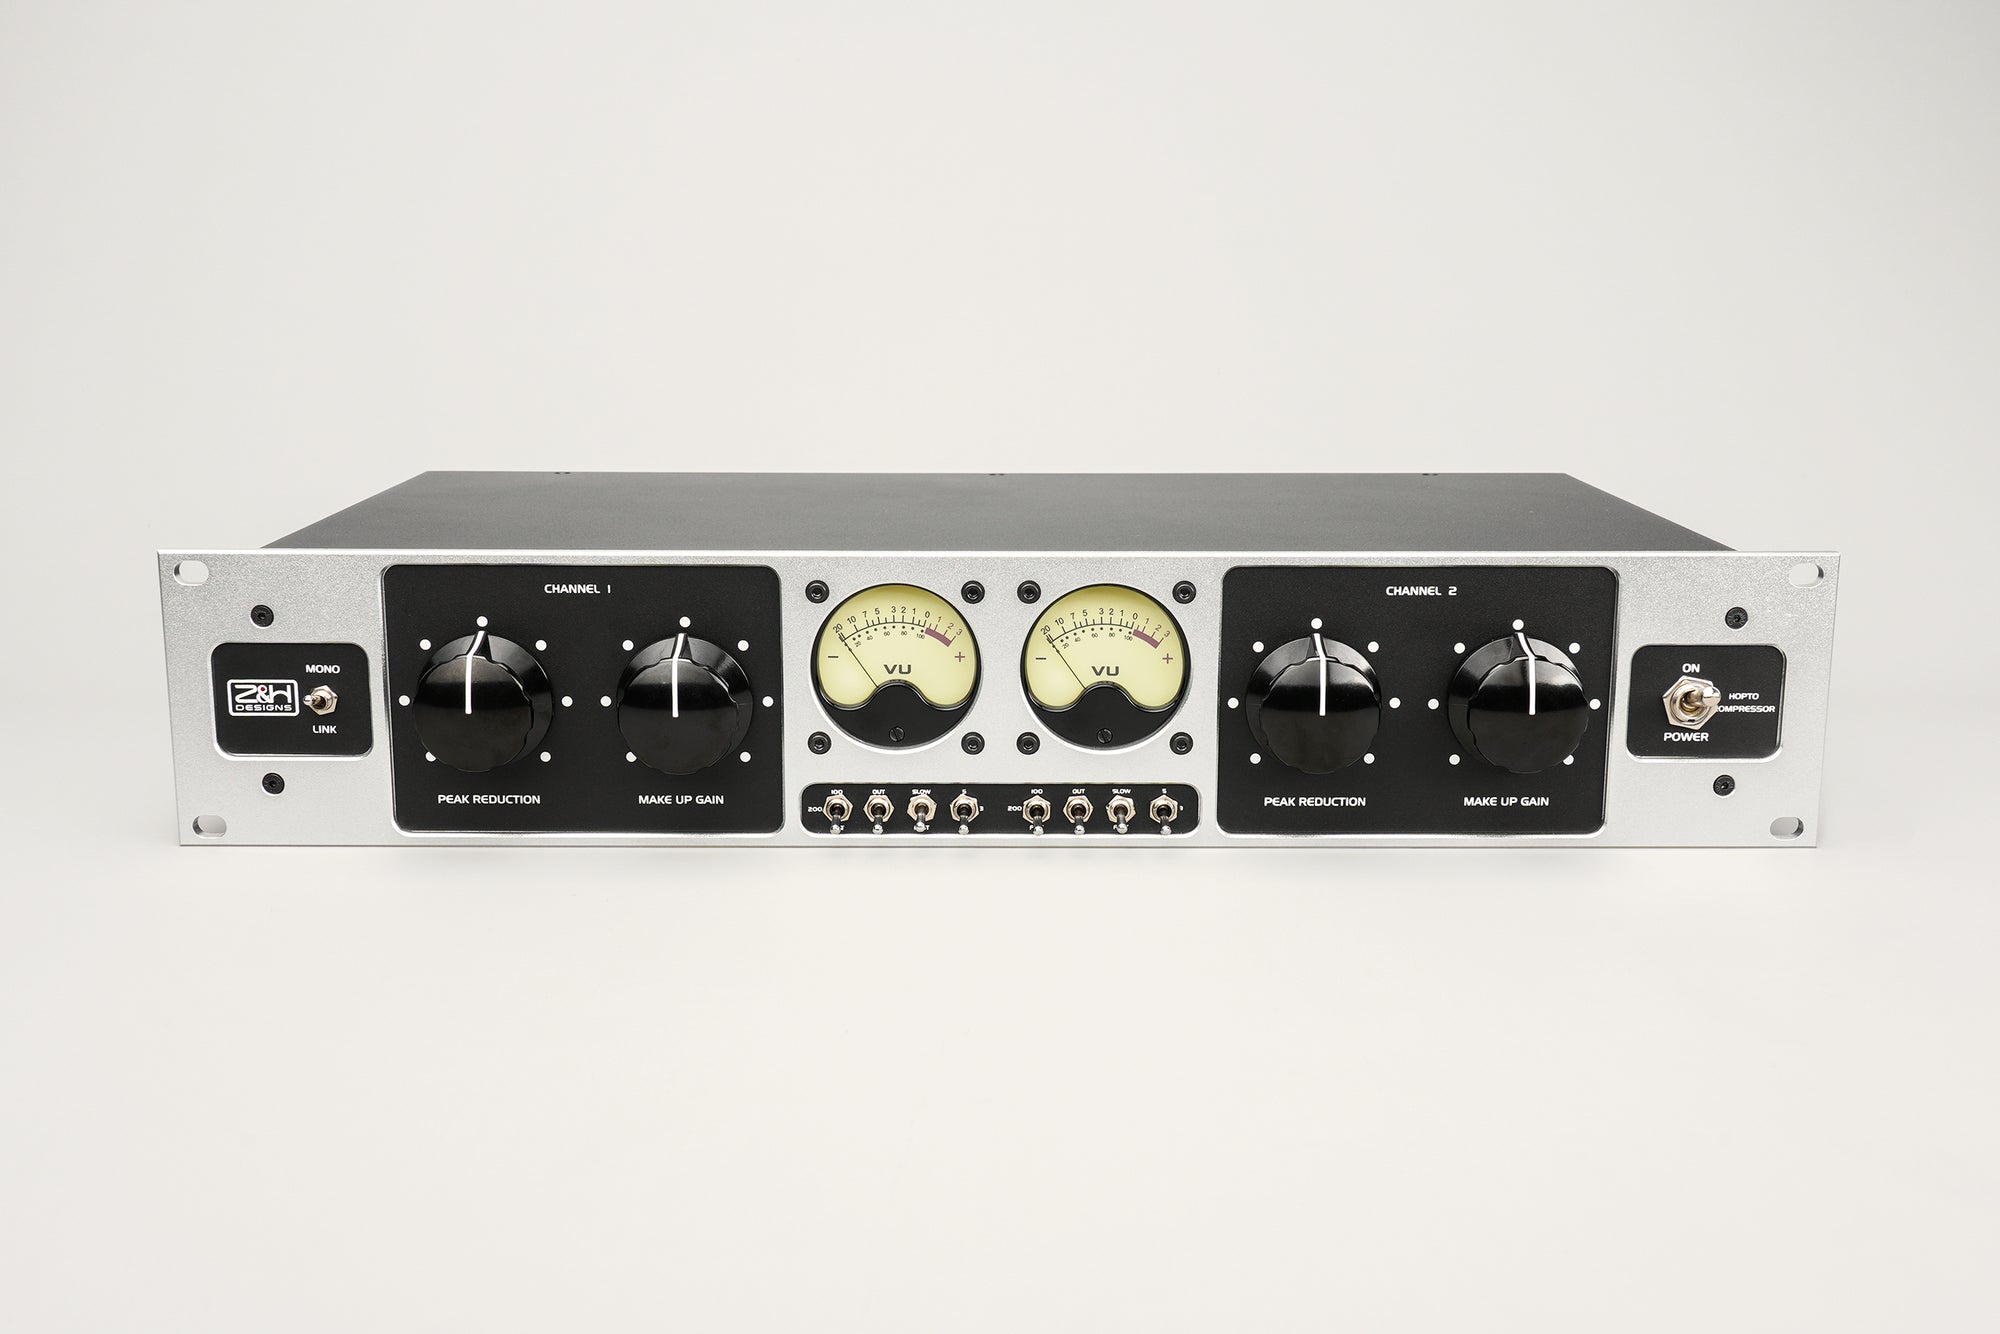
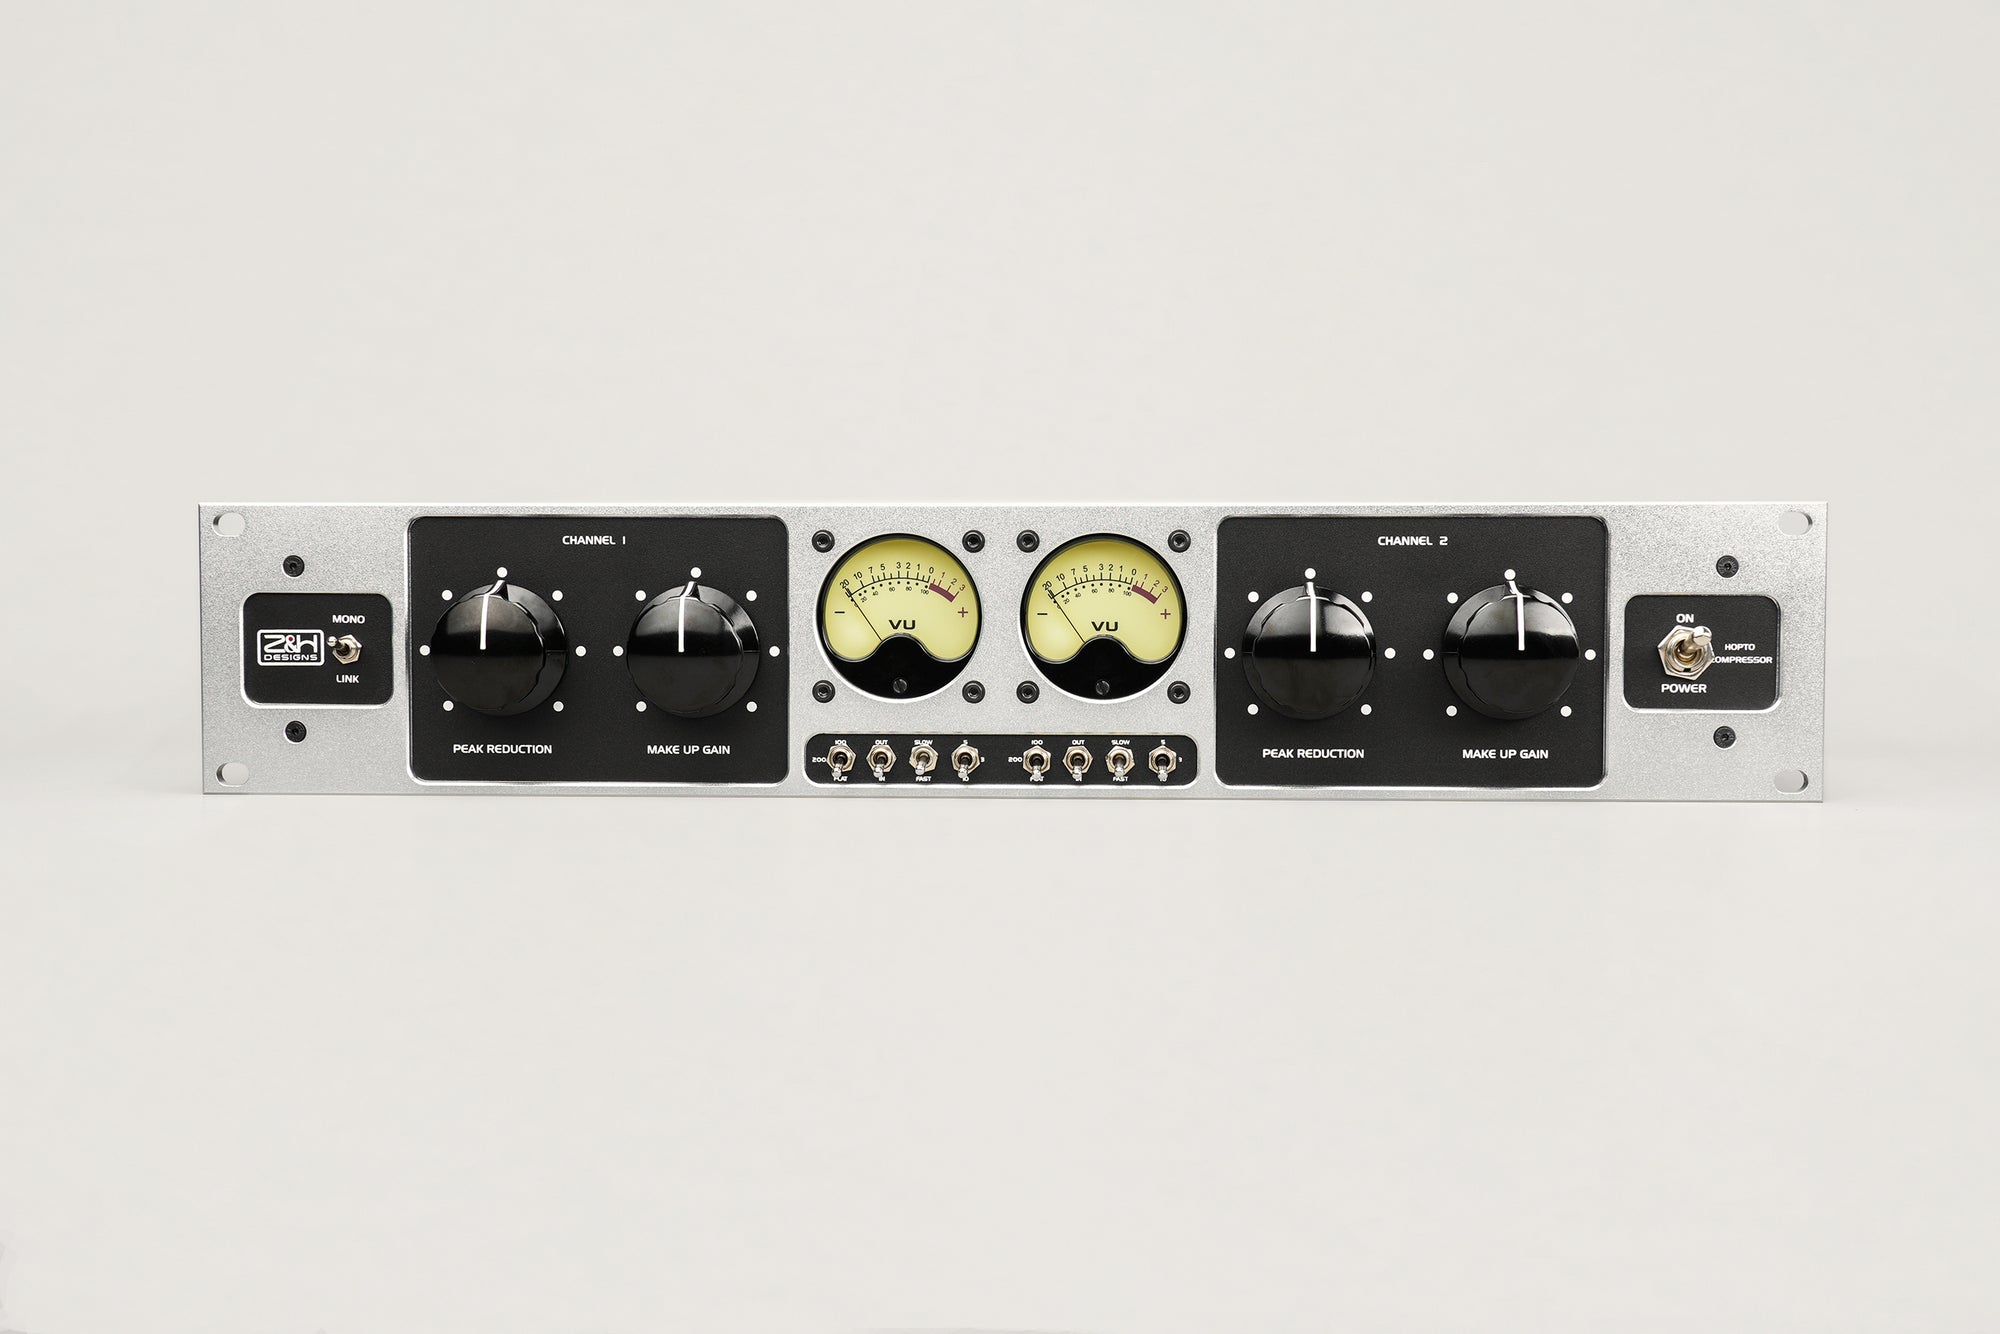
Optical compressors are honestly the easiest to gain stage. The light-dependent resistor inside has a naturally programme-dependent response, so it adapts to whatever you feed it. The Hopto still has a headroom ceiling in its output stage, so don't go crazy. But in general, hit it at 0 VU and let the physics do the work.

LA-2A -- optical compression at its simplest. The CdS photocell adapts to whatever you feed it. Hit it at 0 VU and let the physics work. CC BY 4.0, Jon Gos / Clusternote via Wikimedia Commons
EQ: Watch Your Headroom
Every dB of EQ boost raises the output peak level. A +6 dB boost at 3 kHz can push your signal 6 dB closer to clipping, and if you're stacking multiple boosts it adds up fast.
This is where the EQ's power supply voltage matters more than you'd think. Standard opamp-based EQs on +/-15V rails clip at around +24 dBu. Fine for moderate moves, but heavy boosting at multiple bands can push the internal stages into distortion before the output even shows it. You don't see the clip on your meters, but you hear it. It shows up as a kind of hardness that's hard to diagnose.
The original Sontec MEP-250 solved this with 56V per-channel power supplies. The HVC250 stereo parametric EQ follows the same architecture with +/-28V rails and 14 independent discrete opamps, giving you the headroom to make bold EQ moves without worrying about internal clipping.
There's also a topology difference worth knowing about. In a serial (cascaded) EQ, each band processes the signal in order. A boost at Band 1 raises the level before Band 2 sees it, so heavy boosts can clip later stages internally. In a parallel topology, like the Sontec design used in the HVC250 and ME-250DX mastering EQ, all bands process the original signal simultaneously. No band sees another band's boost. Much simpler to gain stage.
In practice: hit the EQ at 0 VU, make your moves, then check if the output level has jumped. If it has, trim it back to nominal before the next stage. Takes two seconds and saves you from chasing mystery distortion later.
| Serial (Cascaded) EQ | Parallel EQ (Sontec / HVC250) |
|---|---|
| In → [Band 1] → [Band 2] → [Band 3] → Out Each band sees the previous band's boost. Heavy boost at Band 1 can clip Band 2 internally. |
┌→ [Band 1] →┐ In →┼→ [Band 2] →┼→ Sum → Out └→ [Band 3] →┘ All bands process the original signal. No inter-band clipping. Easier to gain stage. |

Z&H HVC250 -- parallel Sontec topology with +/-28V rails. Bold EQ moves without internal clipping.
The Converter: Don't Clip It, Don't Overthink It
Modern 24-bit converters give you 115-120 dB of usable dynamic range. The rule is simple: don't clip the converter. Everything else is secondary.
Most pro converters map 0 dBFS to somewhere between +18 and +24 dBu. At a nominal operating level of +4 dBu, you have 14-20 dB of headroom. Unless something has gone very wrong upstream, you won't clip.
And please, don't chase the -18 dBFS number obsessively. If your snare peaks at -10 dBFS, you still have 10 dB of headroom and the VU meter is probably reading exactly where it should. If a quiet source sits at -30 dBFS, 24-bit gives you over 100 dB of dynamic range below that. Don't add unnecessary preamp gain just to hit a number on a screen.
Calibrating Your Round-Trip (DAW → Outboard → DAW)
If you're sending audio out to analog gear and back, calibrate once and forget about it:
Send a 1 kHz tone at -18 dBFS from your DAW. Measure the D/A output -- it should read +4 dBu (1.228 V RMS), adjust the D/A trim if needed. Patch the D/A output directly into the A/D input (bypass your outboard for now). The return in your DAW should read -18 dBFS -- adjust the A/D trim if needed. Now insert your outboard. Any level difference is coming from the gear itself, not your converters.
That's it. Once this is done, your analog and digital meters agree. Every gain staging decision from here is based on accurate information. For a more detailed walkthrough, see Vintage King's converter calibration guide.
The Mix Bus: Where Mistakes Add Up

Every channel fader contributes to the mix bus level. Doubling the channel count adds ~3 dB to the sum. CC BY-SA 4.0 via Wikimedia Commons
Every channel in your mix adds to the master bus level. One channel at -18 dBFS is fine. But every time you double the number of channels, the summed level goes up by about 3 dB. Forty well-staged channels can sum to a bus level that's 15-18 dB hotter than any individual channel. That's just math.
If you're running a hardware bus compressor, the signal leaves your DAW through a D/A, passes through the compressor, and returns through an A/D. Every step has a headroom ceiling.
The most common mistake we see: running the mix bus hot, say -6 dBFS, which translates to +16 dBu at the D/A output. That's 12 dB above nominal. Your bus compressor's input stage is already getting slammed before the compressor does anything useful. You're not compressing the mix at that point. You're distorting the input stage.
What works better:
Calibrate your D/A so -18 dBFS = +4 dBu. Mix with the master fader at unity. If the bus is too hot, pull down individual channel faders -- not the master. Run bus compression at 0 VU in, 2-3 dB of gain reduction. Leave 3-6 dB of headroom for mastering (peaks between -6 and -3 dBFS).
Quick Reference: Gain Staging Cheat Sheet
| Stage | Target Level | What to Watch |
|---|---|---|
| Mic → Preamp output | 0 VU / -18 dBFS | Gain amount = tonal choice |
| Preamp → Compressor | 0 VU (+4 dBu) | FET: input IS the threshold |
| Compressor → EQ | 0 VU (+4 dBu) | Use makeup gain to match output to input |
| EQ → Converter | Below clip | Net boost raises peak level -- trim the output |
| Channels in DAW | ~-18 dBFS average | Peaks at -10 are normal |
| Mix bus (sum) | -18 to -12 dBFS average | Pull channels down, not the master |
| DAW → Outboard bus | 0 VU at D/A | Calibrate round-trip first |
| Final mix → Mastering | Peaks -6 to -3 dBFS | Leave 3-6 dB for the mastering engineer |
Wrapping Up
Gain staging isn't about memorising one number. It's about making sure every piece of gear in your chain gets what it was designed for.
A preamp driven hot gives you harmonic richness from transformer saturation. A FET compressor needs input level to work against its fixed threshold. A vari-mu needs a gentle touch or it'll bite. An EQ with high-voltage rails lets you sculpt boldly without hidden distortion. And a properly calibrated converter makes it all translate cleanly.
Get the gain structure right and everything else, the mix, the tone, the headroom, falls into place. It's not glamorous, but it might be the single most useful thing you can learn about running analog gear.
Frequently Asked Questions
What is gain staging?
Setting the signal level at each point in your audio chain so every stage works in its optimal range. Too quiet and you're in the noise floor. Too loud and you clip. The goal is keeping each device in its sweet spot.
What level should I record at?
The standard reference is -18 dBFS average, which lines up with 0 VU / +4 dBu on analog gear. It's not a hard rule, more of a calibration bridge between analog and digital. Transient peaks at -10 or -8 dBFS are perfectly normal. Focus on average level, not peak level.
What is the difference between dBFS and dBu?
dBFS (decibels full scale) is digital. 0 dBFS is the absolute maximum, a hard ceiling you can never exceed. dBu is analog voltage. Professional gear operates at +4 dBu with 20+ dB of headroom above that. The two are linked by your converter's calibration, typically -18 dBFS = +4 dBu.
Does gain staging matter with 32-bit float?
Inside your DAW, not really. 32-bit float gives you effectively unlimited headroom. But gain staging still matters because analog-modeled plugins are calibrated to specific internal levels, any analog outboard has fixed headroom ceilings, and your monitoring chain has real physical limits.
How do you gain stage a hardware compressor?
Depends on the type. FET compressors (1176-style) have no threshold knob, so the input level is the threshold. VCA compressors have separate thresholds, so hit the input at 0 VU and set the threshold independently. Vari-mu needs gentle input, 0 to +2 VU. Optical compressors are the most forgiving. Each type is a different conversation.
Does gain staging affect tone?
Yes, especially with analog gear. A transformer-coupled preamp generates more harmonic content at higher gain. Transformer saturation is frequency-dependent (more low-frequency harmonics), which is why pushing a Neve-style preamp adds warmth rather than harshness. Same idea with compressors. A vari-mu at 1-2 dB of gain reduction sounds warm and dimensional. At 8-10 dB it's a completely different character.
How much headroom should I leave for mastering?
3-6 dB. Peaks between -6 and -3 dBFS, average around -18 to -14 dBFS. This gives the mastering engineer room to work without the mix already pushing against the ceiling. They'll thank you for it.
Z&H Designs builds the analog signal chain from front to back -- preamps, compressors, EQs, and mastering processors -- all handmade with discrete circuitry and linear power supplies. Explore the full lineup at zhdesigns.audio.

The VU meter -- your best friend for gain staging analog gear. 0 VU = +4 dBu = -18 dBFS. CC BY-SA 2.0 via Wikimedia Commons
Sources
Bob Katz, "An Integrated Approach to Metering, Monitoring, and Levelling Practices" -- AES Technical Document
elysia, "-18 dBFS is the new 0 dBu" -- elysia.com
RME, "Matching Analog and Digital Audio Signal Levels" -- rme-audio.de
Jensen Transformers, "Audio Transformers" (Technical Paper) -- jensen-transformers.com (PDF)
Vintage King, "How to Calibrate Your Converter" -- vintageking.com
Sound On Sound, "What Are Reference Levels in Digital Audio Systems?" -- soundonsound.com
Sengpiel Audio, "Meter Comparison Table" -- sengpielaudio.com
DAW with analog outboard cart photo -- Wikimedia Commons
Avalon AD2055, AD2044 & Neve 33609J rack photo -- Wikimedia Commons
Mixing desk at Hipposonic Recording Studio photo -- Wikimedia Commons
Technics RS-612US VU meter photo -- Wikimedia Commons
Focusrite Red 1 500 Series Mic Pre photo, Matt Vanacoro -- Wikimedia Commons
Pultec EQP1, UAD 6176, Crane Song compressor, dbx 160x photo -- Wikimedia Commons
Image Copyright Notice: All images used in this technical analysis are utilized under Fair Use provisions for educational, technical review, and analysis purposes. Original copyrights remain with their respective owners. No commercial use is intended. If copyright infringement occurs, please contact us for removal.


.jpg)
_(cropped).jpg)