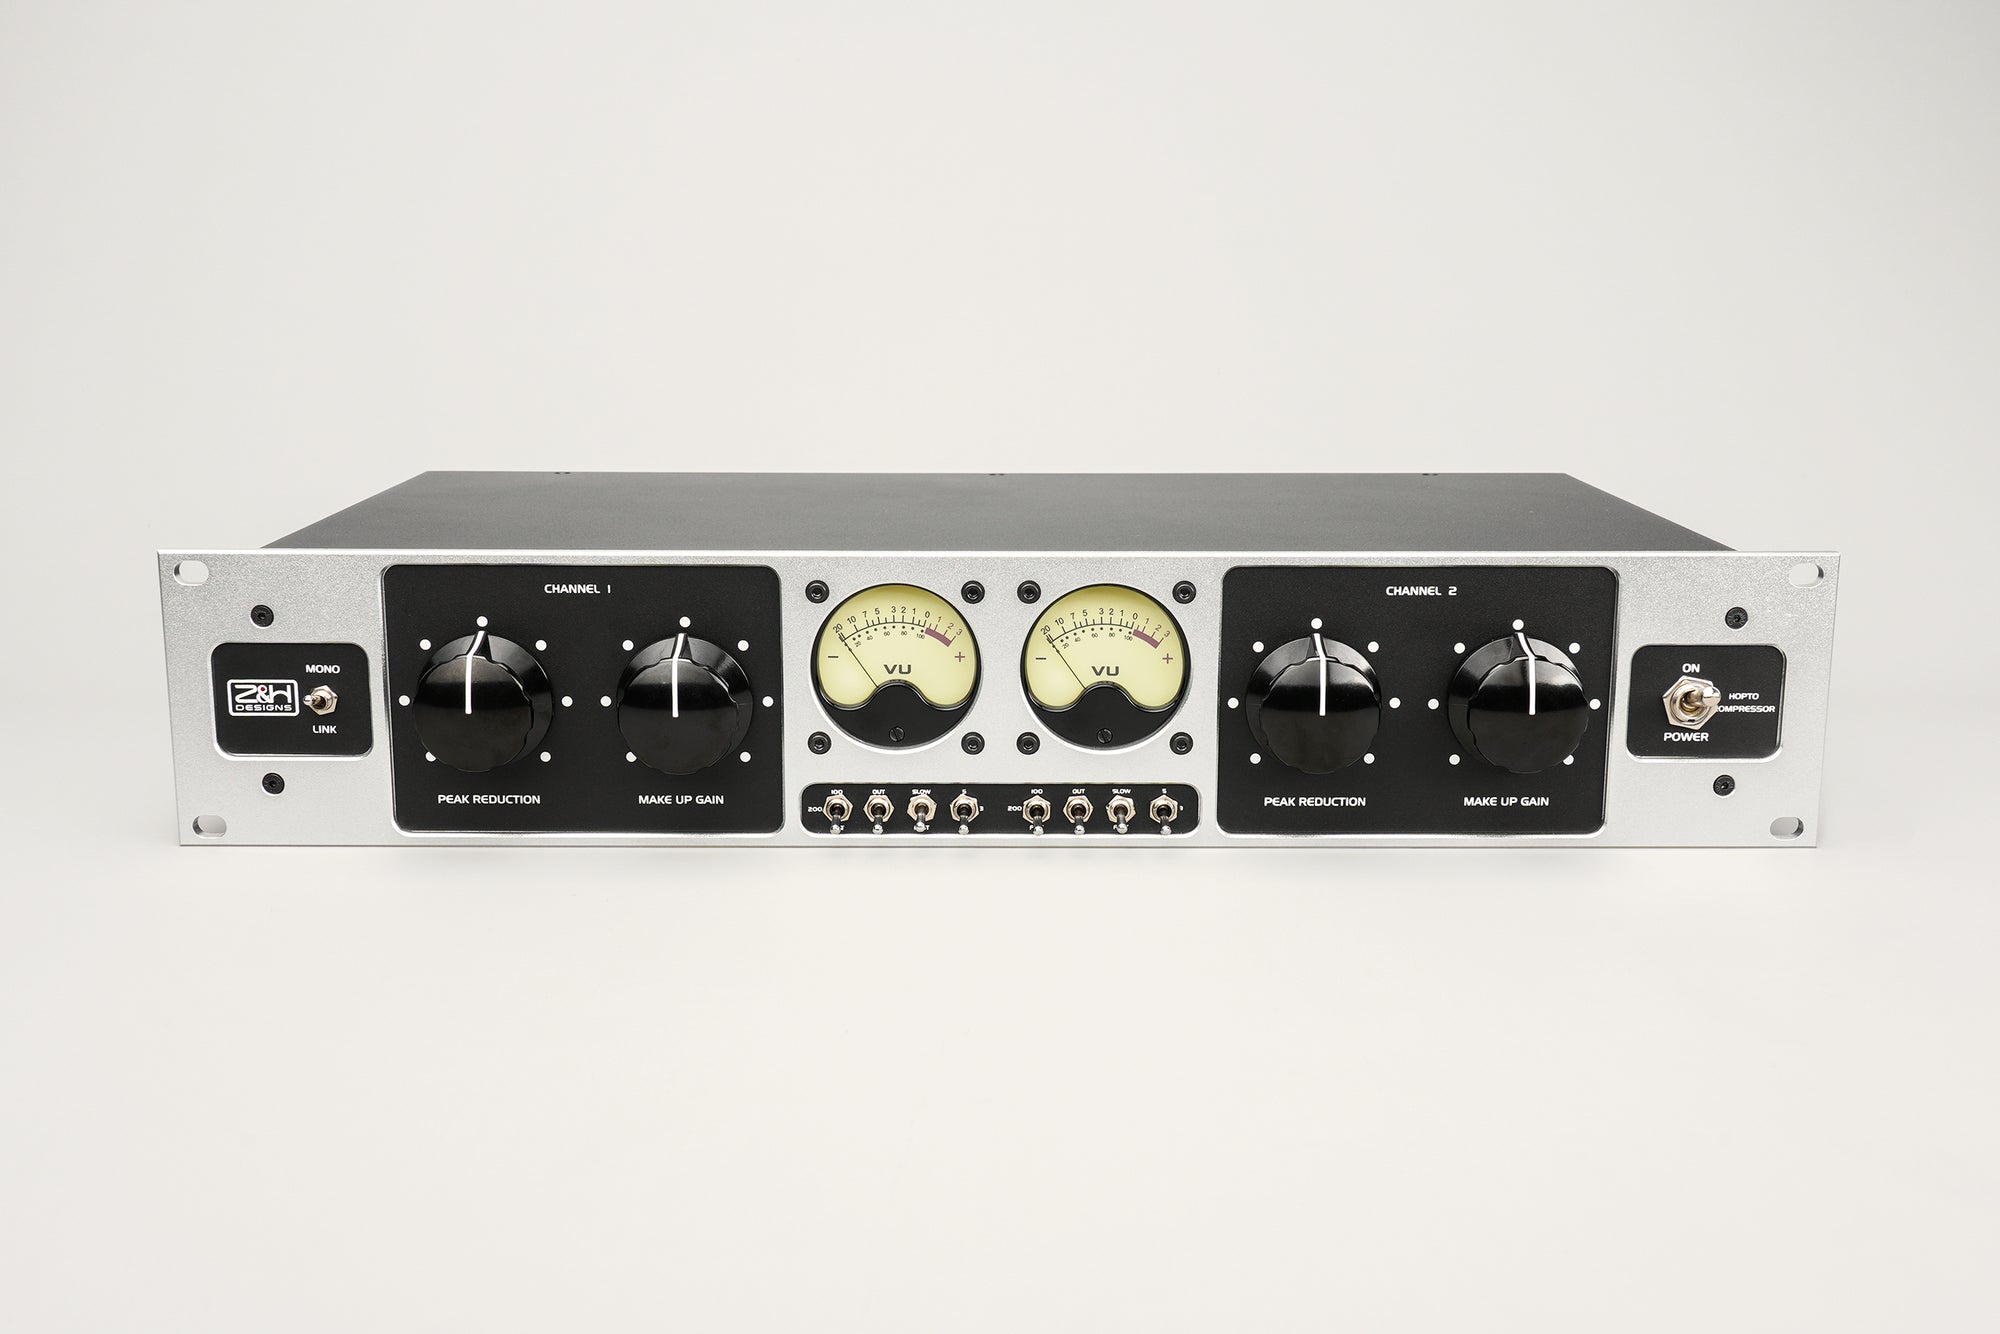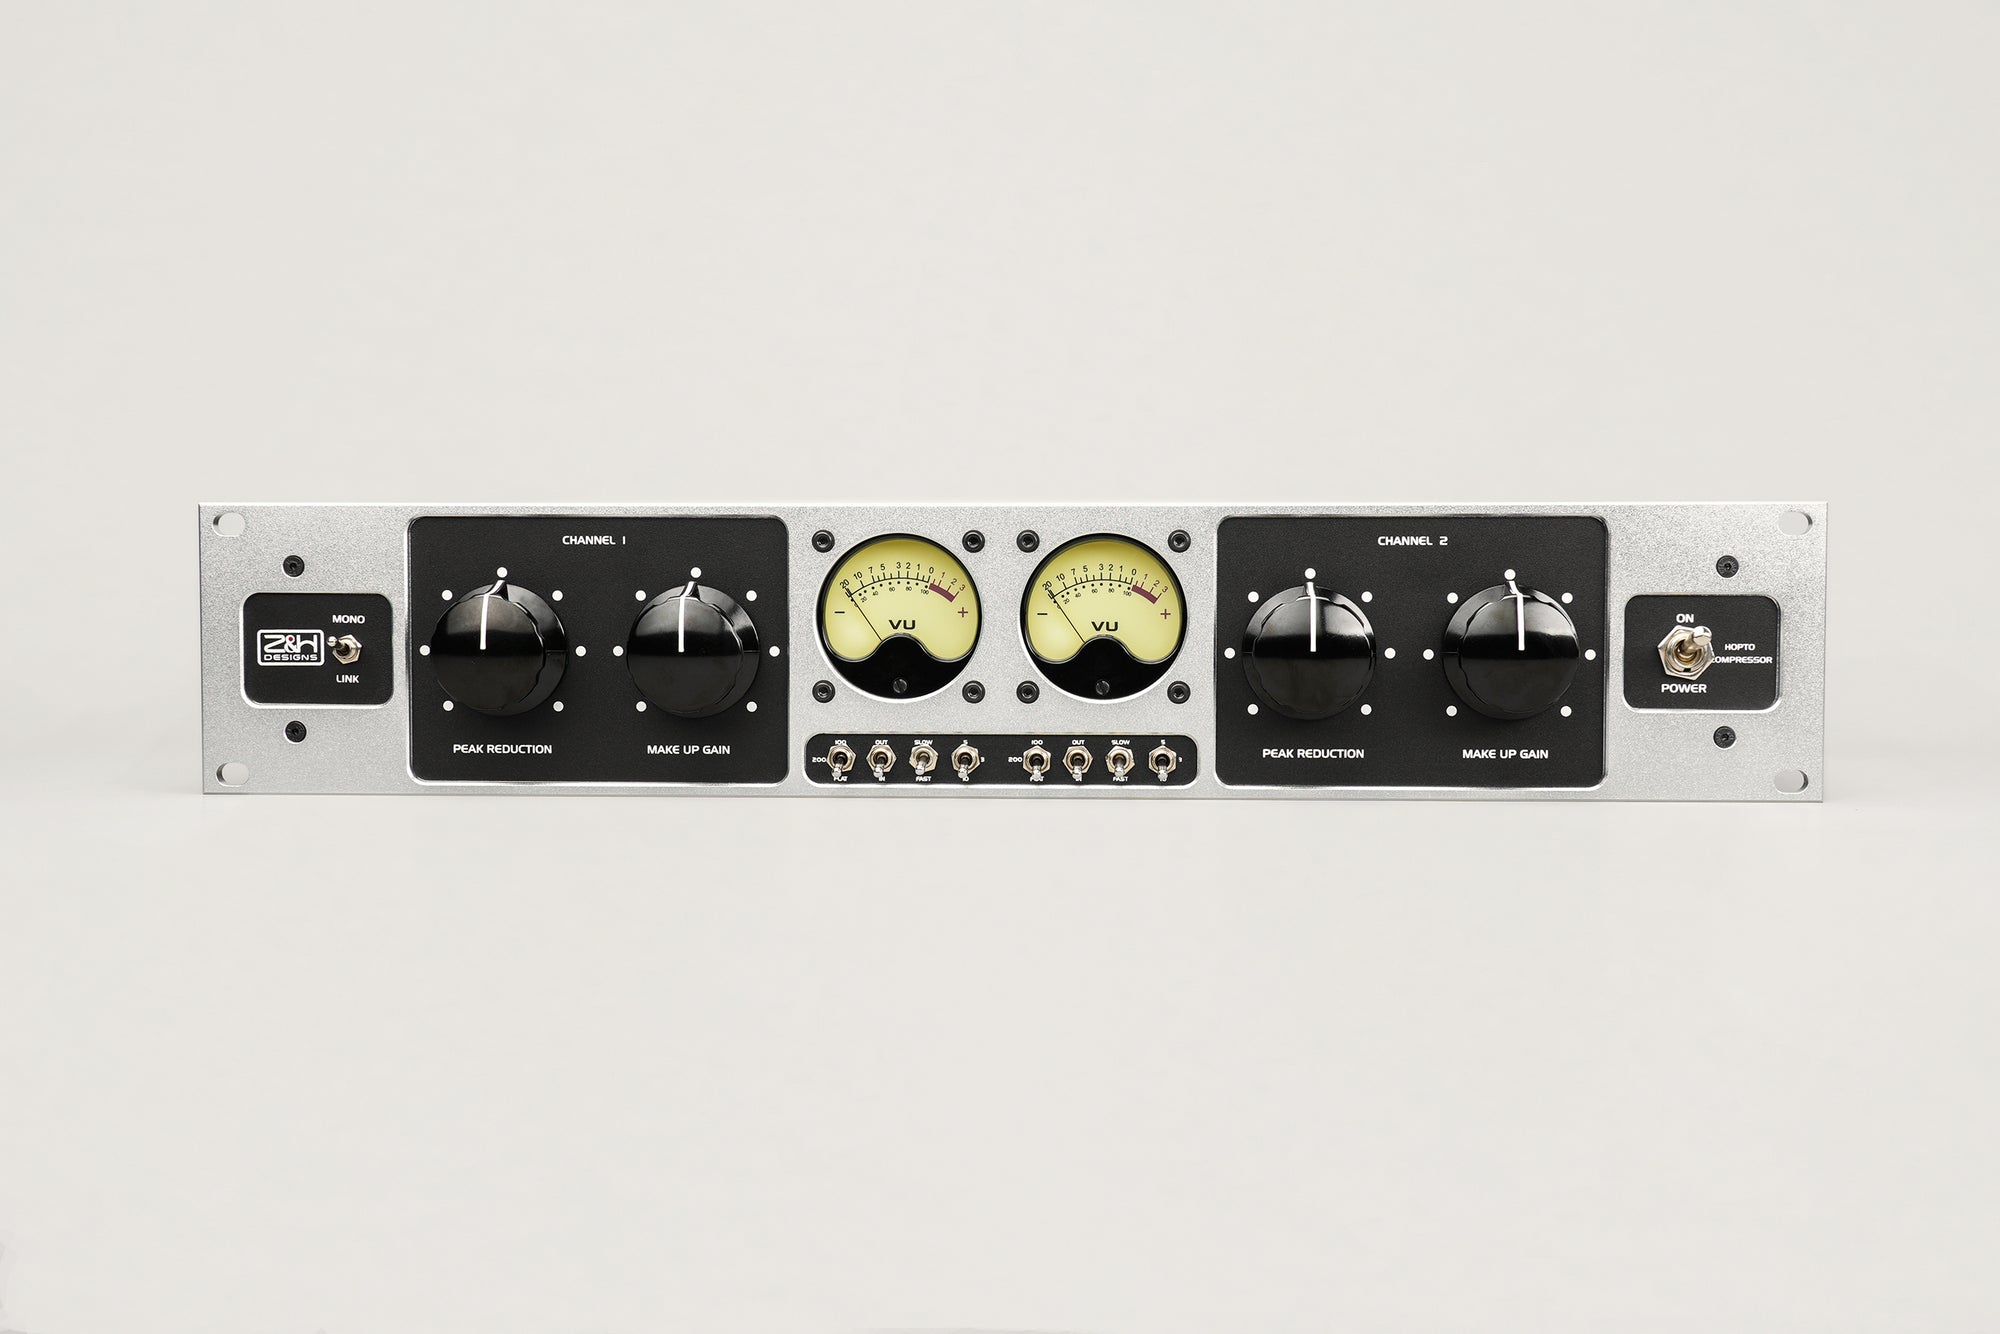

A revision arrives after the rack has been used for another session. You have a photograph of the EQ, but one switch is hidden behind a knob and the DAW return is louder than you remember. Turning the visible controls back gets you part of the way there.
To recall hardware EQ settings reliably, save the source audio, the signal path, every control state and a printed reference. Restore those records together, then compare the new pass with the old print at a matched listening level. A good recall note should let you find a mistake before you start changing the sound.
Save the sound before you clear the rack
Print the approved hardware pass while the settings are still in place. Keep the exact audio that fed the hardware too, with enough lead-in and tail for the section you will check. Name both files so their relationship is obvious: a source revision and its corresponding EQ print belong together.
Save a copy of the DAW session with its routing, insert settings and sample rate. Write down where the EQ sits relative to any compressor, limiter or other processor. If the source file or a processor before the EQ changes, you have changed the input to the recall test.
Choose a short passage with useful clues: a solid central vocal or snare, sustained low notes, and some exposed high-frequency detail. Note its time range. That gives the next session a repeatable listening test without searching through the whole song.
You may be recalling a starting point for a new mix revision. First check it against the original source. Once that is working, introduce the revised mix and make the requested change. Keep those two decisions separate in the file names and notes.
Photograph the panel, then write down what the photo can miss
Take one straight-on photograph of the entire front panel and closer shots of each channel. Make sure pointers, legends, switches and status lights are readable. Check the pictures before touching a control; glare can make a setting unreadable even when the photograph looks sharp.

For each band, record frequency, gain, Q or filter shape, and its enable or range switch. Include unused bands. An OFF band can still have controls set for an earlier experiment, so write both the switch state and the positions you intend to preserve.
On the ME-250DX Stereo Mastering EQ, Frequency and Q knobs are stepped. Each band's Gain Range toggle selects ×1, OFF or ×2; record that state alongside the gain knob. The ×1 range provides ±5 dB in 0.5 dB steps, while ×2 provides ±10 dB in 1 dB steps. A gain pointer alone leaves the range unspecified.
Record channel bypass and L/R or M/S mode separately. In M/S mode, the left-hand channel processes Mid and the right-hand channel processes Side. Label your notes accordingly: copying “left” and “right” settings without the mode leaves an important part of the setup unresolved.

With continuous controls, pair the scale reading with a clear photograph. If a pointer falls between markings, describe that position honestly. Extra decimal places in a note cannot supply a measurement you did not make. Stepped controls make the selected positions easier to identify, but the audio still needs checking.
Keep a recall record beside the audio
The following is a blank checklist for your session notes. Repeat the band row for every band on both channels, and retain it with the photos and prints. It is a general workflow template, not a model-specific setup sheet.
| Record | What to save |
|---|---|
| Session and source | Project, revision, date, sample rate, exact source file and comparison time range |
| Hardware and routing | Unit identifier, processor order, interface send/return ports and patchbay connections |
| Operating state | L/R or M/S mode, channel bypass states and any other active filters or options |
| Each band, each channel | Frequency, gain position, Q or shelf, band enable/range switch and matching close-up filename |
| Level and timing | DAW send trim, interface output/input settings, return trim and external-insert latency settings |
| Evidence and revision | Original EQ print, recalled print, listening notes and any intentional change after verification |
Add a short intention note where it will help: “keep the vocal centred” or “check the bass sustain against the original print.” These are listening targets, not substitute settings. They tell you what to inspect when the controls appear correct but the result is still doubtful.
Restore the route and level before judging the EQ
Start with monitoring reduced while you verify the send and return. Trace the path from the DAW output to the EQ input and back to the intended interface input. Check that the return is not being fed back into its own send, and that you are hearing one intended return rather than a second parallel monitoring path.
Restore the saved interface and DAW trims. Keep the original source level into the hardware while testing the recall; turning down the send to make the return quieter changes the test conditions. Use a separate playback trim on the recorded comparison files when you need to match their listening levels.
External inserts also need their timing checked. Ableton's external-effects guide, for example, covers interface send/return selection, hardware latency adjustment and recording the processed signal. Use the equivalent procedure for your DAW and interface, and keep its settings in the recall record.
Let the equipment settle according to its manufacturer's instructions. Then restore the panel methodically, one channel and band at a time. Compare each control with the written record and photograph before making a fresh pass.
Compare the new print with the saved reference
Record the recalled pass from the same source. Align the comparison files in time, select the same passage and match their playback loudness closely enough that a louder version is not winning by default. Keep the hardware send untouched during this listening comparison.
Listen to one feature at a time. Does the bass note hold the same weight? Are vocal consonants or cymbal tails noticeably brighter? Does the central vocal stay in the same place? A broad level shift suggests checking trims first. A tonal or stereo change calls for a pass through band switches, Q or shelf choices, channel states and mode before you reach for a new EQ move.
Compare the recalled processed print with the earlier processed print. A bypass comparison answers whether the EQ is helping the current source; it cannot establish that you have restored the previous setup.
A polarity-inverted comparison can help expose differences once files are carefully aligned. A residual signal alone does not tell you which control is wrong, and silence is not a sensible blanket promise for an analog round trip. Judge the audible difference and investigate the signal path before treating a null result as a verdict.
When the recall is satisfactory, save the new print and a brief verification note. If the revision then calls for more air or less low-mid weight, log that as the next version. Before clearing the rack again, ask one practical question: could another engineer rebuild this setup from the saved files, notes and photographs without having to guess?