

Put a compressor across a stereo drum bus and listen to a fill that moves from left to right. If each side compresses independently, the fill can change the balance of the whole kit. Link the channels and the image may stay steadier, but that same fill can make the opposite side dip too.
Start linked when keeping the stereo picture stable matters most. Try dual mono when independent control solves a specific problem, then check that the movement it introduces is acceptable. The useful comparison is the same passage at matched listening levels, with the compressor settings held steady.
What actually changes when you link the channels?
In dual mono, the left and right compressors make their own gain-reduction decisions. Identical knob positions do not guarantee identical gain reduction: the two sides can contain different instruments and different peaks.
With full stereo linking, the compression applies a common gain change to both sides. A louder event on the left can therefore turn down the right as well. The left and right audio paths can remain separate throughout; linking does not mean summing the output to mono.
Here is a simple level example, not a hardware measurement. If both sides receive 3 dB of gain reduction, their level difference at that moment stays the same. If the left receives 3 dB and the right receives none, their relative level changes by 3 dB. That extra difference can pull a centered element or alter the apparent position of an instrument. How obvious it becomes depends on the recording and the amount and timing of compression.
FabFilter's Pro-C 3 manual makes the distinction explicit: its 0% stereo-link setting processes the channels independently, while 100% applies the same gain reduction to both. Those percentage labels belong to that plugin. Other controls can use percentages for entirely different things.
Common gain helps preserve the instantaneous left/right level relationship. It does not promise that every part of the stereo impression stays unchanged. A transient and its later reverberation can still receive different amounts of compression over time, and the two hardware paths still need sensible level matching.

Hear the tradeoff on one drum-bus passage
Use a stereo drum recording with a centered kick or snare, a clearly placed hi-hat, and a tom fill or cymbal hit that favors one side. Choose a short passage that includes a little space after the fill. That space helps reveal whether the opposite side dips or the room sound changes as the compressor recovers.
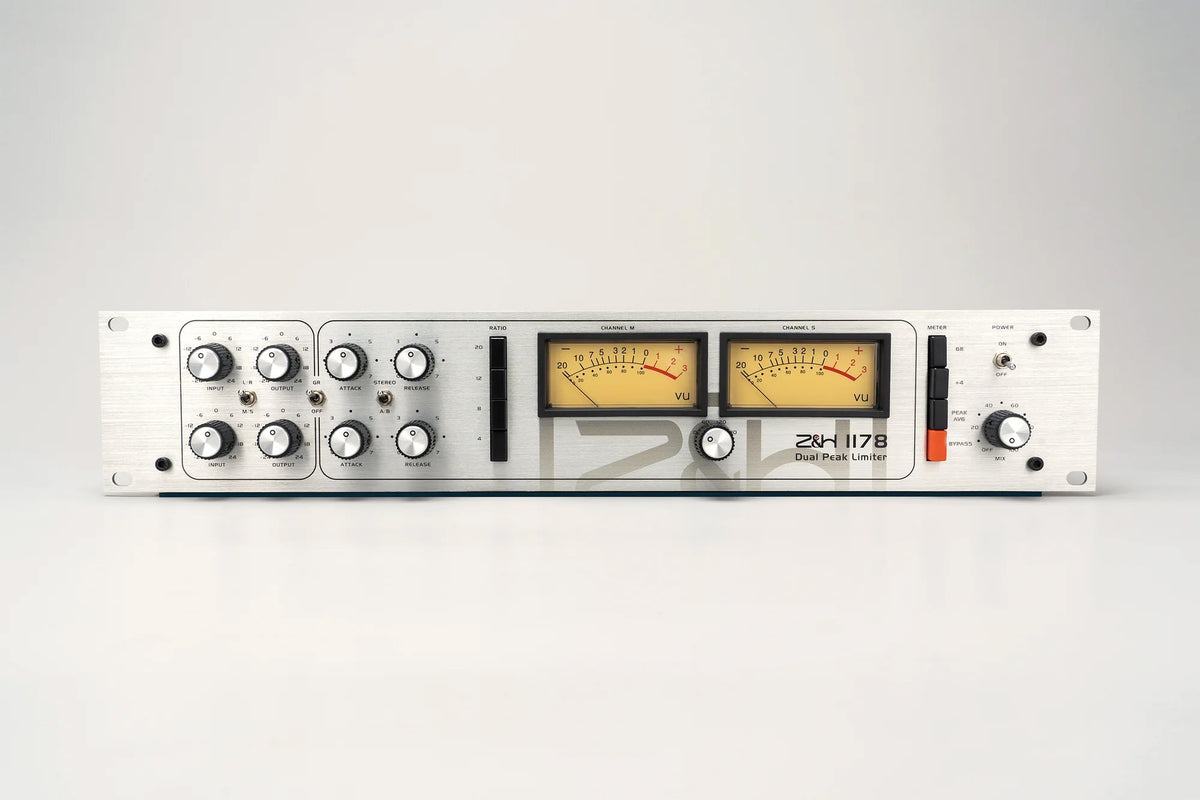
The following is a suggested exercise with the Z&H 1178, using its L/R and STEREO–A/B switches. It assumes you already have a working, level-checked stereo line-level send and return. Keep left connected to left and right to right, with only one monitored return path and no return routed back into its own send. For basic levels, see gain staging in your studio.
-
Establish a balanced starting point. Turn down monitoring before changing the patch. Select L/R, A/B, 4:1, sidechain HPF at 0, and Mix fully counterclockwise to OFF. On this model, Mix OFF gives the fully processed signal. Keep gain reduction enabled. Match the upper and lower Input, Output, Attack and Release settings initially. The upper row handles left and the lower row handles right in L/R mode. Use the actual Bypass button to compare the unprocessed signal; GR OFF is not the same operation. If the stereo balance is already wrong in bypass, fix the routing before judging linking.
-
Set light compression in A/B. Start with both Input controls low. Use matching middle positions for Attack and Release as an exercise starting point, then bring both Input controls up together until the bus shows modest gain reduction on louder hits. Around 1–3 dB is a useful observation range for this exercise, not a target every mix needs to reach. Keep the left/right Output relationship balanced. If the fill is still hard to hear clearly, adjust the matching timing settings before the comparison, then leave them fixed. On the 1178, clockwise makes both attack and release faster.
-
Listen once without touching the controls. Loop the passage in A/B. Follow the centered snare through the fill, the opposite-side hi-hat, and the room tail. Watch the two GR meters for context, but judge the image with both channels playing together. Different meter movements are expected in dual mono; they become a problem when the musical balance moves in a distracting way.
-
Switch to STEREO and repeat the same passage. Leave Input, ratio, timing, HPF and Mix unchanged. The 1178 manual, PDF page 4 describes the linked action: maximum limiting in one channel causes an equal amount in the other. Listen for a steadier center, then concentrate on what the opposite side gives up when the fill triggers compression. Is the hi-hat briefly tucked away? Does the whole kit breathe more noticeably?
-
Match listening level, then compare again. Use a common stereo trim after the returned compressor signal to make the two passes comparably loud. Move both sides together; do not repan or trim left and right separately to disguise image movement. Keep that playback trim out of the compressor's input path. If recording two passes, use the same source passage, start position and routing, align their playback, and audition one at a time. A louder pass can win even when its balance is less useful.
-
Choose, then recheck in the full mix. Keep STEREO if it holds the kit in place without making the opposite side sag distractingly. Keep A/B if the independent response is useful and the snare, hat and room remain where you want them. If both versions sound too restless, reduce compression before making a bigger mode change. Finally check at normal and quiet monitoring levels, briefly in mono, and against bypass at matched loudness. Mono is a compatibility check; it cannot tell you whether the original stereo image stayed stable.
The first pass isolates the link switch. It may also change the overall amount of compression because the detector decisions have changed. Once you choose a mode, you can retune the input or timing for the musical result, then repeat the level-matched check. Label that as a second adjustment rather than attributing every improvement to linking alone.
When dual mono earns its place
Two unrelated mono sources are the clearest case. A vocal on one channel and a bass on the other usually need independent settings; a loud bass note should not automatically turn the vocal down. That is a different job from compressing the left and right halves of one stereo mix.
On a stereo recording, dual mono can let a one-sided event receive more compression without imposing the same reduction on the other side. The cost is a changing left/right gain relationship. Sparse arrangements often make that movement easy to hear. Dense material may tolerate it, but a busy mix is not a reason to skip the comparison.
| What you hear | What to try | What must survive the change |
|---|---|---|
| The centered snare seems to move during a left-heavy fill. | Try linked compression with the same starting settings. | The center steadies without an objectionable dip in the opposite side. |
| A left-side hit makes the right-side ambience drop in linked mode. | Try less compression first, then compare dual mono. | The ambience recovers without distracting left/right movement. |
| One side is consistently louder, including in bypass. | Check source balance, patching and channel levels. | A balanced baseline before judging either compression mode. |
| One mode sounds impressive only when it plays louder. | Match playback level with a common stereo trim. | The preference remains after the loudness advantage is removed. |
Linking behaves differently across compressors
The word LINK tells you too little about the detector. The TDR Molot GE manual describes an averaged detector envelope in its linked mode when crossfeed is off. The dbx 160A manual describes RMS energy summing for linked units, specifically addressing cancellation between the signals. These are different ways of combining detection information. Neither description should be substituted for the 1178's documented behavior.
That distinction matters with recordings whose left and right signals differ substantially. Adding raw L and R audio before detection can respond differently to opposing-polarity content from detecting the channels first and combining their level information. Do not assume every stereo compressor uses a simple L+R sum, or that matching a link percentage across plugins creates a matched test.
Also separate gain-reduction linking from control linking. A processor may share compression decisions while retaining separate channel level controls. Another may use one channel's controls as the primary set. Check the exact manual before treating one side's knobs as a master panel. In the 1178 exercise, keep corresponding settings matched and verify the returned stereo balance; do not introduce a control-setting difference at the same time as a mode change.
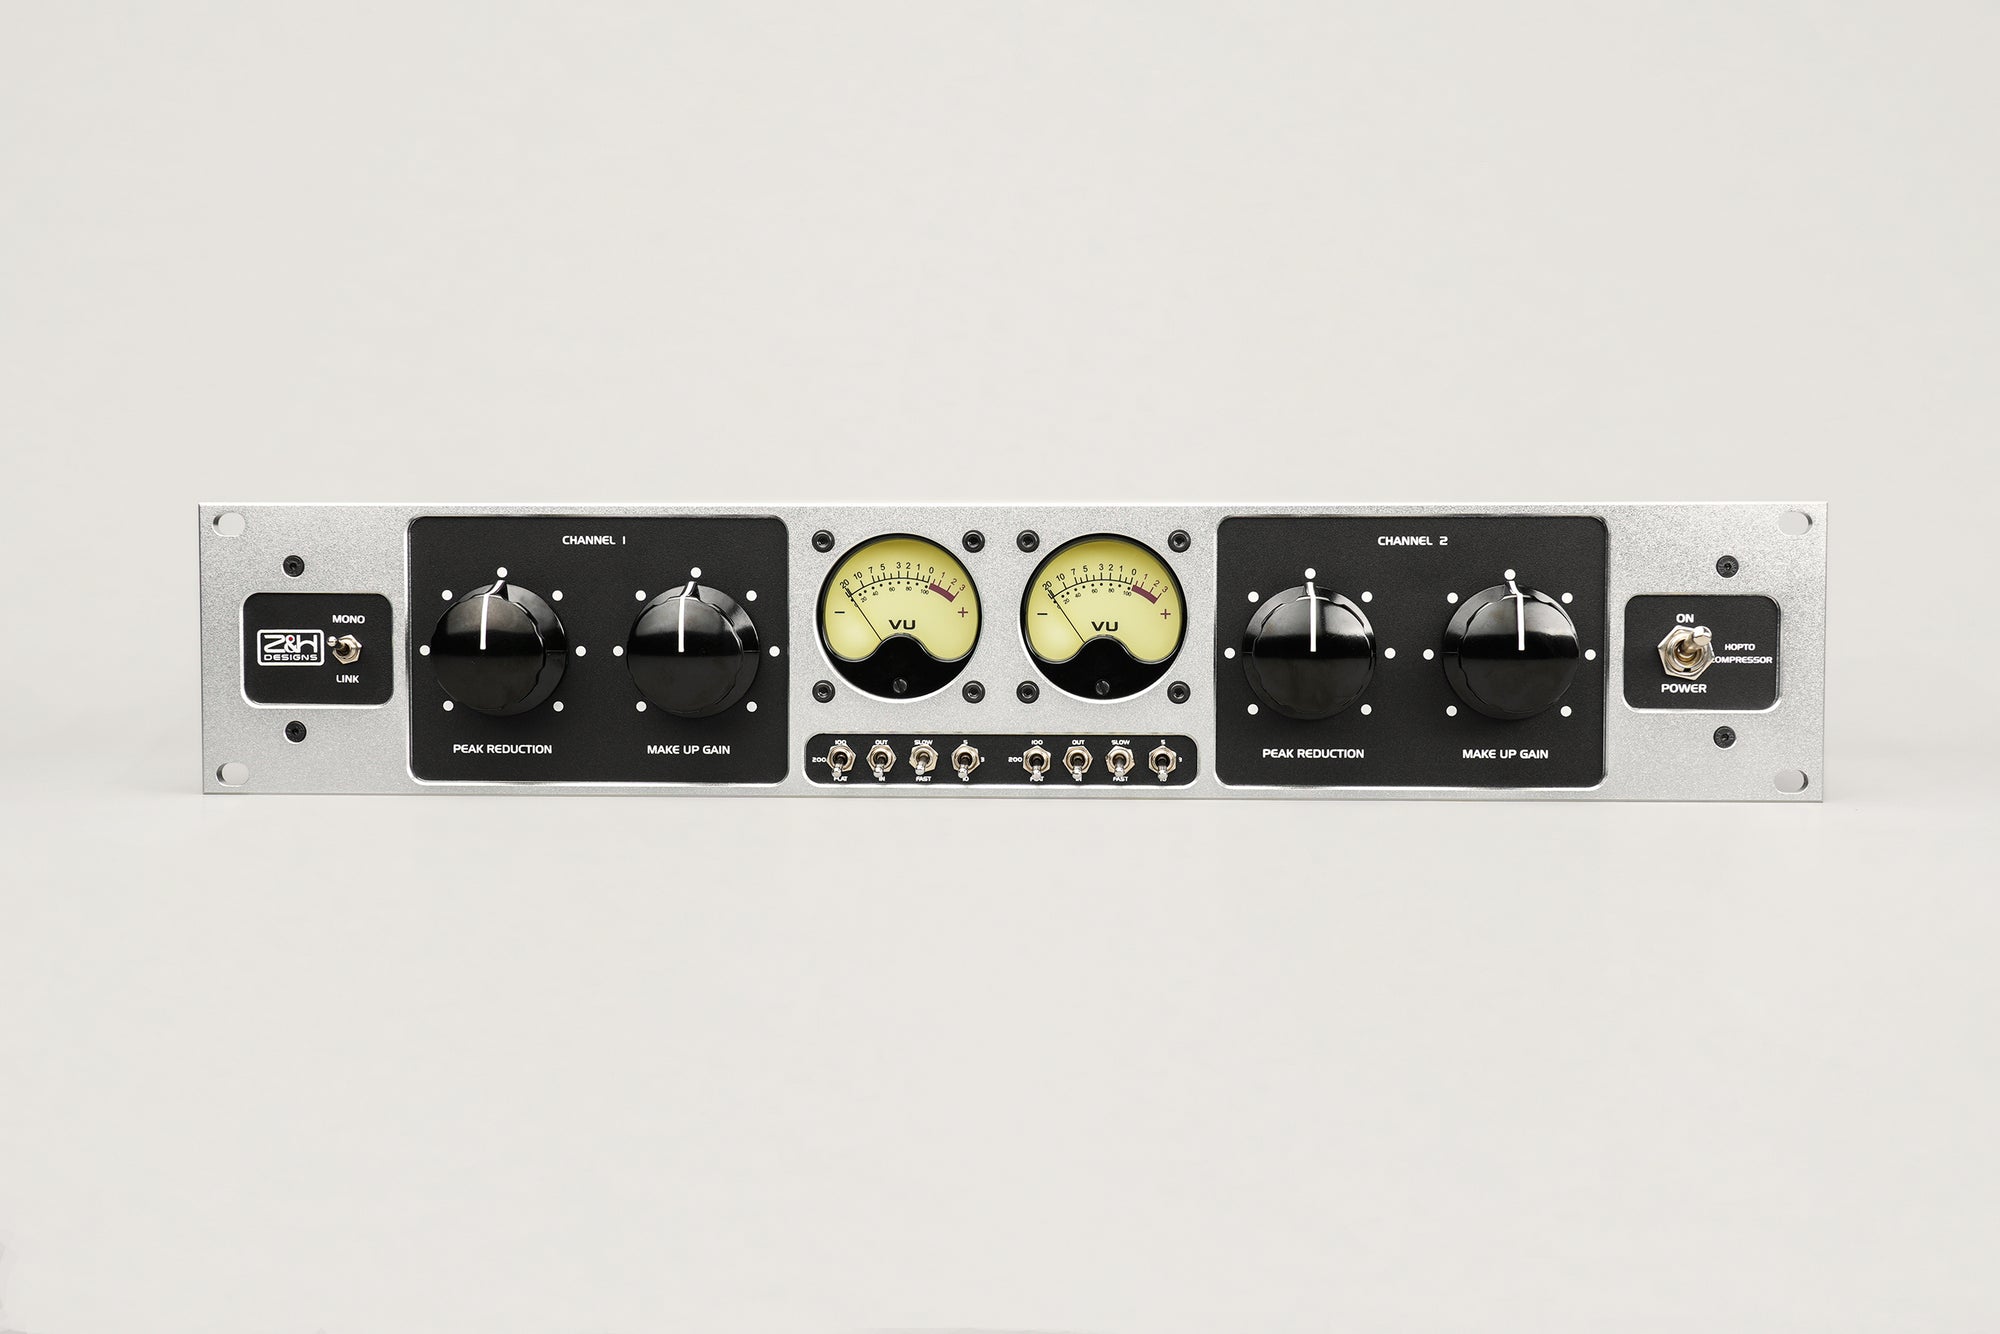
The Hopto offers another practical application. Its manual, printed page 3 describes MONO as two independent compressors and LINK as equal compression following the channel applying more reduction. For a stereo piano passage with stronger notes on one side, start with LINK, matching channel settings, both channels IN and the same sidechain HPF position. Turn both Peak Reduction controls clockwise together to introduce light compression, then compensate with balanced Make Up Gain settings. Compare MONO on the same phrase: keep it only if the independent response improves the passage without pulling the piano image around. There is no need to reproduce the 1178's numerical timing settings on this different design.
Leave M/S for a separate comparison
Dual mono in L/R mode and independent Mid/Side compression are different decisions. In L/R, you are controlling the left and right channels. In M/S, you are working on the encoded Mid and Side components, which changes the interpretation of the controls and the stereo result.
For this listening test, leave the 1178 in L/R. Once you have chosen the link behavior, settle the compression amount and timing in the full mix. If the real problem is the balance between the center and the sides, make that a separate M/S exercise with its own level checks. Moving both switches at once makes it much harder to hear which change helped.