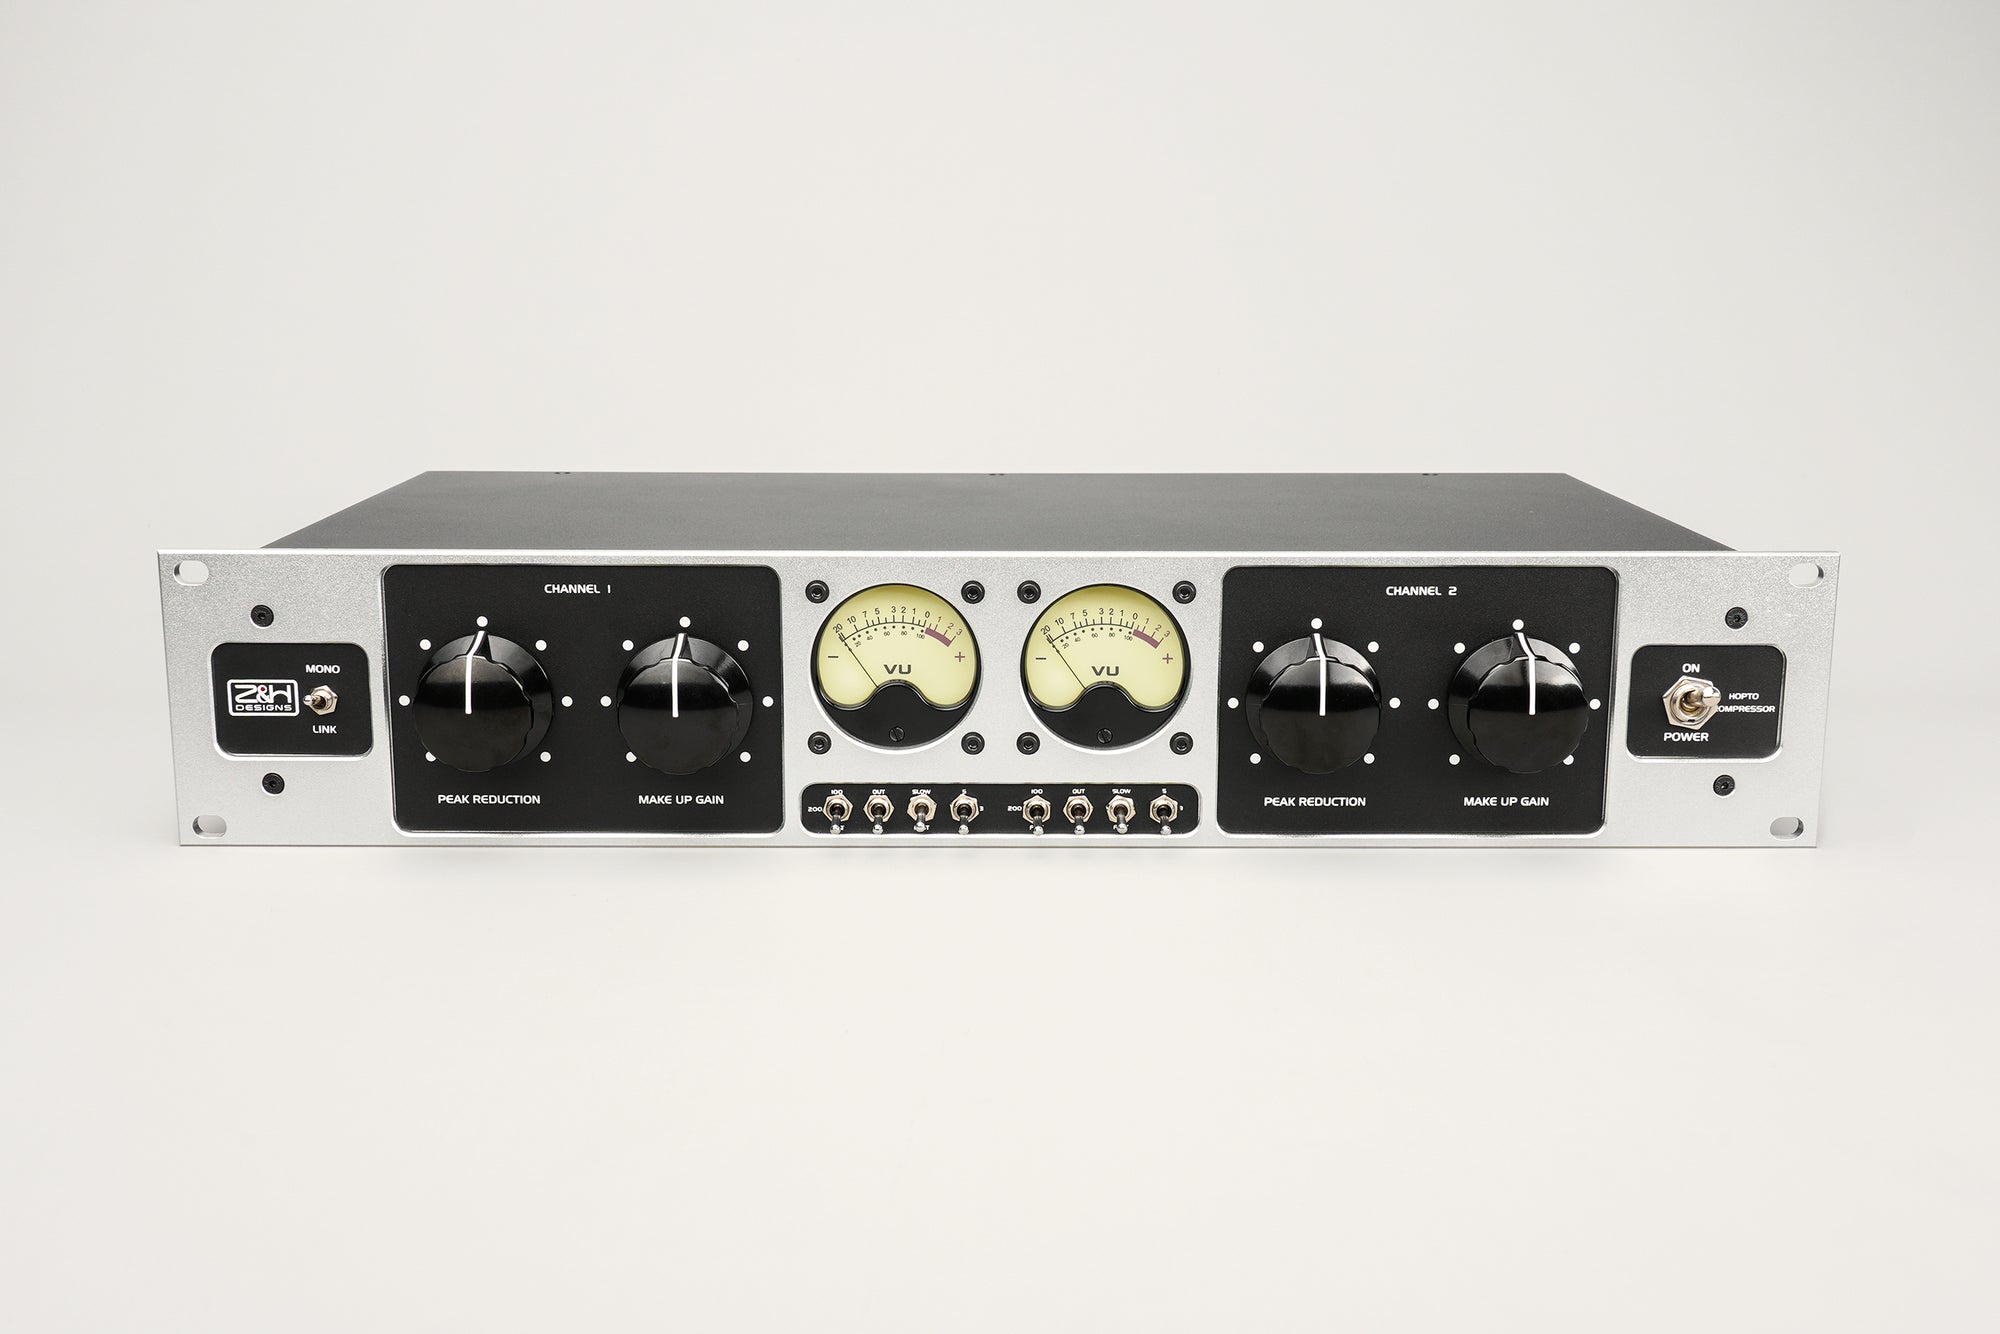

The vocal feels easier to sing against once you add compression to the headphones. Should that sound go into the recording too? If you are still finding the sound, keep a dry recording and use compression for monitoring where your routing allows it. Print compression when you have heard what it does to the whole performance and want to keep that decision.
You do not need a hardware compressor to capture a usable vocal. A clean recording with room for the loudest phrase gives you plenty to work with later. Compression on the way in earns its place when it solves a specific problem you can hear, without taking something you want from the performance.
First, find out what you are actually recording
Hearing compression and recording compression are separate decisions. A compressor in the headphone path may help a singer hear quieter words. Whether that processing reaches the audio file depends on where the recording signal branches off.
An analog compressor between the mic preamp and the interface’s converter changes the signal before it becomes digital audio. Its gain changes are part of that recording. Bypassing a plug-in later will not remove them.
Software routing needs its own check. An effect on a playback channel, an input effect that gets recorded, and processing inside an interface mixer can all behave differently. Read the recording-path description for your system. Then record a short test, stop, disable the monitoring effects, and play the captured file. Do this before the take you want to keep.
| Recording choice | What you keep | What you need to check |
|---|---|---|
| Dry capture, compression in the monitor path | Freedom to change compression later | That the recorded file really bypasses the monitor processing |
| Analog compression before conversion | The compressor’s action as part of the take | The quiet phrase, the loud phrase, and headroom at every stage |
| Software processing routed into the recorded file | The processed digital signal | The actual record routing; processing after conversion cannot protect an already overloaded analog input |
Leave room for a performance that changes
Consider a singer who rehearses the verse quietly and pushes much harder on the chorus. Setting the chain from the verse alone gives you little information about the take that matters. Ask for the loud section at performance intensity, with the microphone in its intended position, before setting input gain or compression.
If the only problem is that the input clips, lower the appropriate input gain and test again. A compressor further down the chain cannot repair distortion already created in the microphone or preamp. It can also pass an initial peak or deliver too much level through its makeup stage. Leave headroom even when you are compressing.
The gain-staging guide covers the wider chain. For this decision, focus on the preamp, compressor output, and interface input. A pleasant headphone balance does not prove that all three are operating cleanly.
Dry capture is a useful default for an unfamiliar singer, an arrangement still being written, or a session where someone else will mix the vocal. You can still work on the cue mix. Ask whether the singer wants more vocal level, less backing track, or steadier dynamics before assuming that heavier compression is the answer.
Put hardware in the right part of the chain
For a line-level hardware compressor, the basic recording path is microphone, mic preamp, compressor, then a suitable interface line input. Focusrite’s guide to analog connections describes using outboard processing on the line-level signal from an external preamp before it reaches the interface.
An interface with only a microphone input does not automatically give you an accessible point between its internal preamp and converter. You need a documented analog insert or another suitable signal path to put external hardware there. A compressor connected to an interface output and returned to an input is processing a signal that has already passed through conversion; it cannot protect the original input capture.
Check the interface’s manual for the correct connector, input mode, and acceptable level. An XLR socket alone does not tell you that it is a line input. Do not send phantom power to a compressor’s line output. Confirm the routing and phantom-power instructions for the actual models you use before connecting them.

Hopto’s rear-panel audio connections are line-level inputs and outputs. Match the destination input to the interface manual.
Make the first pass deliberately light
Start with a clean signal and little gain reduction. Have the singer move between a quiet line and the loud section. Add compression gradually while listening for the words that jump forward. The useful setting is one that makes those moments easier to place while preserving the shape of the phrase.
Bring the processed and bypassed levels close enough to compare fairly. Extra makeup gain can make a setting seem more convincing simply because it is louder. Listen again after matching levels, and check the interface input meter after any output adjustment.
On the Z&H Hopto, Peak Reduction adjusts the compression amount and Make Up Gain compensates the output level. Its channel bypass lets you compare the result. The Slow/Fast attack selection gives you another listening decision: does the word retain the leading edge you want, or does the processing make it feel smaller? Compare both at modest reduction before committing. The switch name is no guarantee that every peak will be caught.
The Hopto manual documents the controls and line-level connections. Its sidechain high-pass filter changes how low frequencies influence detection. It does not remove low frequencies from the recorded audio, and it will not erase a plosive that has already reached the microphone. Fix the source of that problem before asking the compressor to work around it.
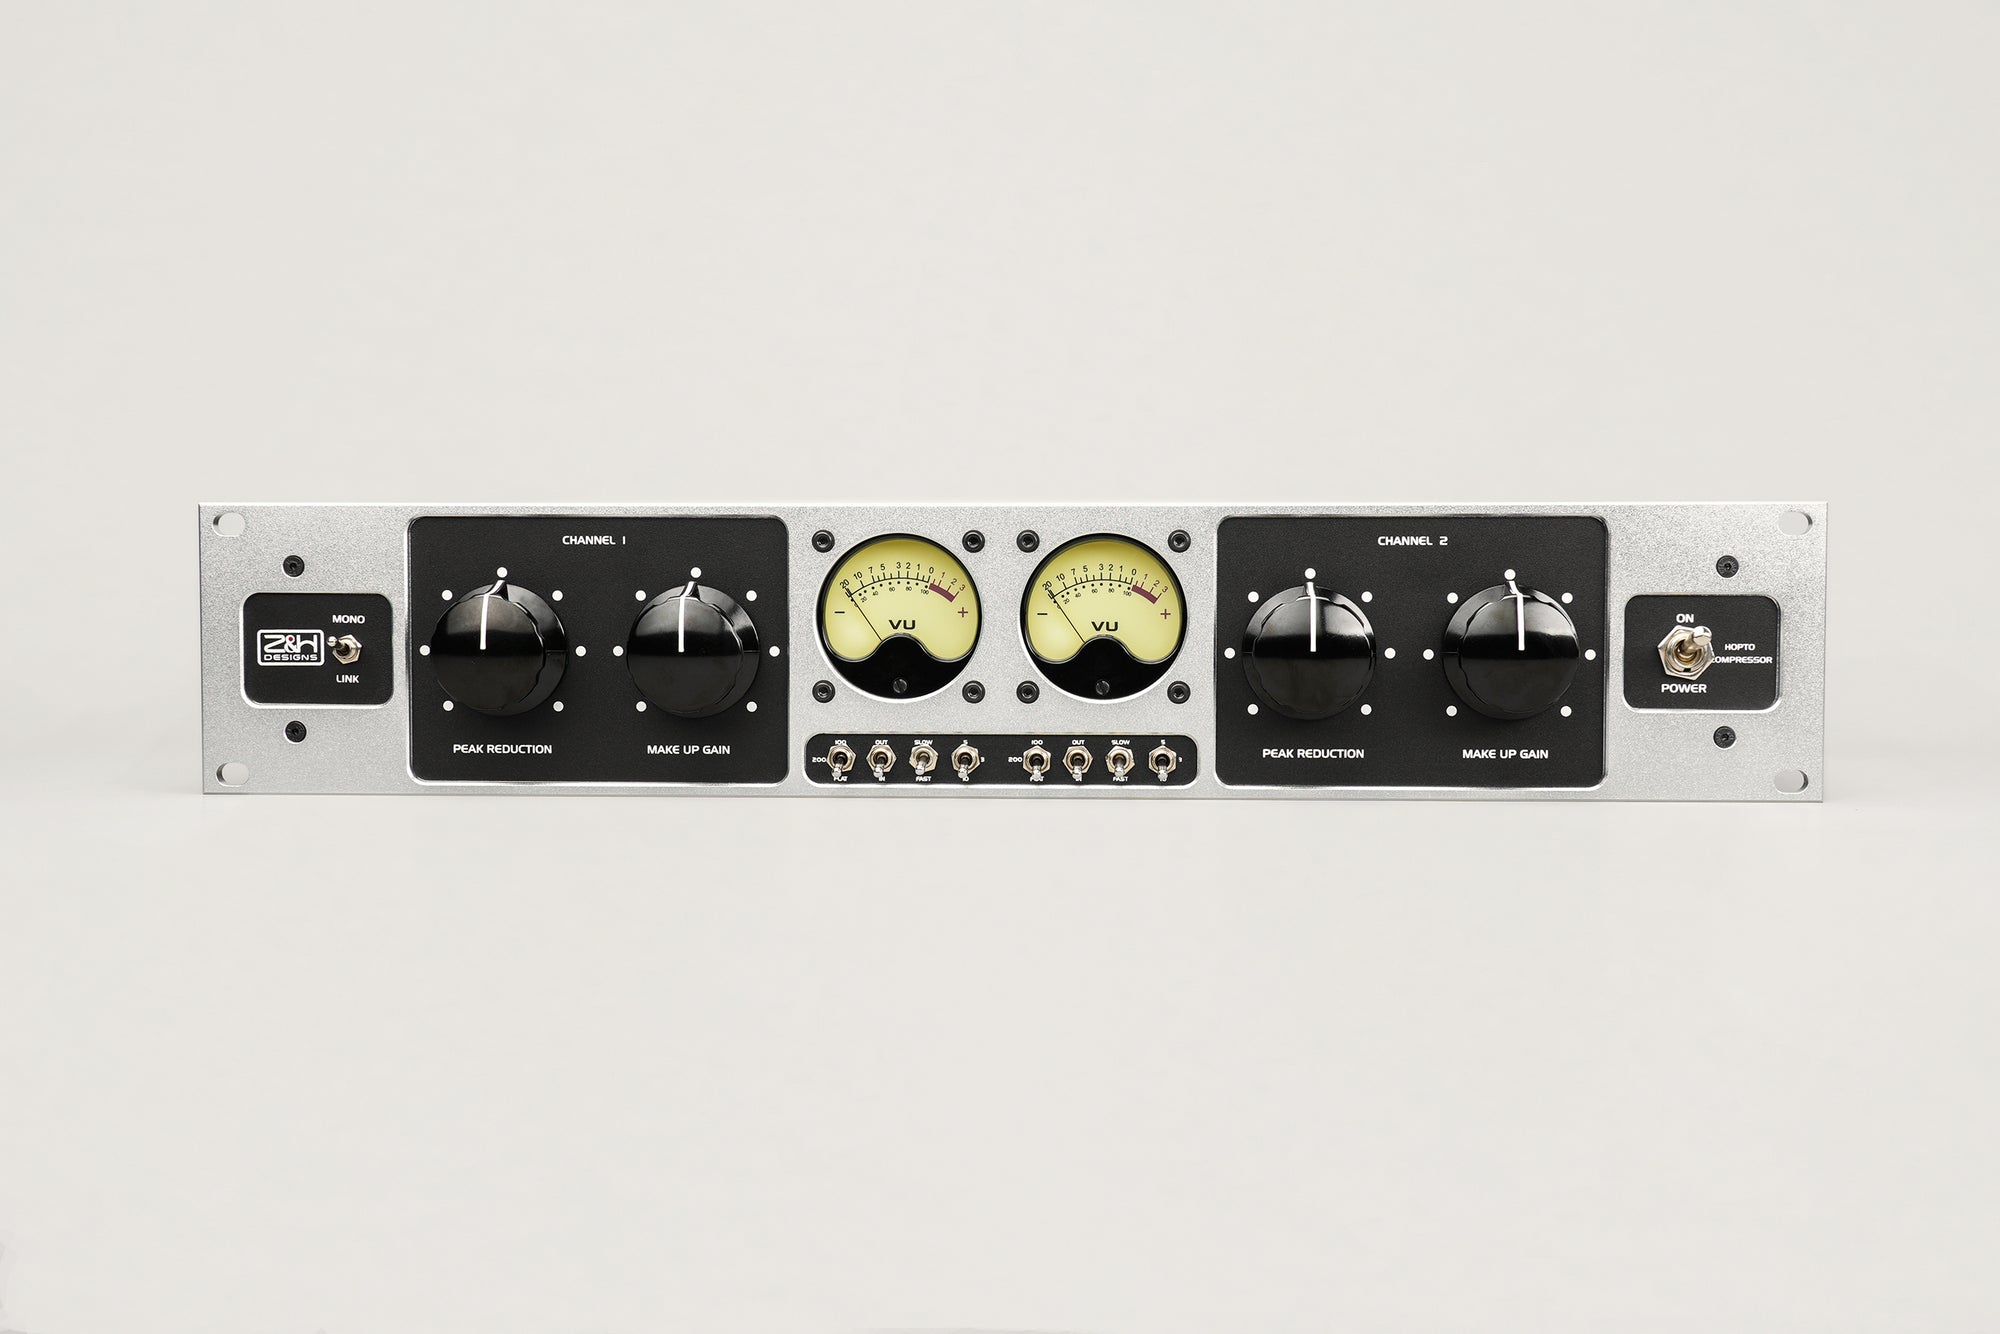
Hopto separates Peak Reduction from Make Up Gain, with channel bypass and a Slow/Fast attack switch.
Know when to back off
Listen between the words as carefully as you listen to the loud note. After you compensate the output level, breaths or room sound may become more prominent. A held syllable may make the following word feel pulled down. Consonants may lose their bite. These are reasons to reduce the processing or change the approach, even when the meter shows an amount you expected to work.
If you need heavy control just to hear the singer, revisit microphone distance, performance consistency, and the headphone balance. Compression cannot distinguish a useful expressive change from an unwanted one on your behalf.
You can choose an obvious compressed sound deliberately. The cost is that the next person working on the file inherits it. A dry alternative requires a real, verified recording branch before the processing; duplicating a processed track in the DAW does not create one. If you cannot capture that alternative reliably and are unsure about the sound, record dry.
For a comparison of compressor types, see VCA vs Opto vs FET vs Vari-Mu. Choosing a type still leaves the recording decision in your hands.
Test the file before committing the take
Record a short passage containing the quiet line, the loudest phrase, and the breath after it. Stop recording. Listen back with monitoring effects removed and the playback levels matched as closely as practical. Check that you are judging the recorded file, not a second live input mixed into it.
If the words sit more comfortably and the singer’s changes in intensity still make sense, you have a reason to keep the compression. If you immediately want to restore the attack, undo the breathing, or rescue the next word, take that warning before recording the full performance.