Achieving the perfect balance between loudness and dynamic range in mastering is a delicate art. Increasing loudness often comes at the expense of some dynamic elements, but it’s a necessary trade-off in the quest for impactful and engaging sound. While the so-called "loudness war" is to some extent necessary, our goal should be to enhance loudness within a reasonable range, preserving musicality. Here, we'll discuss four effective techniques (with examples) to maximize your mix's loudness without compromising its essence.
1. Clipping
The first and arguably most cost-effective technique is using a clipper. Human ears are not particularly sensitive to very short, sharp transients. A clipper works by cutting off these peaks, retaining most of the audio information below. Unlike a limiter, which compresses the sound and can introduce an audible squeeze, a clipper simply chops off the peaks, often leading to a more transparent result.
On some older high-end audio interfaces, it is quite often to see a soft clipper - when an audio signal exceeds the threshold, the peaks are gradually rounded off rather than sharply cut. This results in a smoother, more natural distortion that can add warmth and character to the sound without introducing harsh artifacts. This is a large part of the “vintage” vibe.
Meanwhile, a hard clipper which abruptly cuts off the peak is well enough to handle the loudness. It can effectively reduce peaks by 3-4dB, allowing for a significant increase in overall loudness without triggering limiter compression.

To use a clipper effectively, gradually lower the ceiling until it trims the sharpest peaks. This method creates more headroom for your limiter to work more on the overall audio rather than just a few high transients. It frees up a considerable amount of space in your master, allowing for a more efficient limiter application.
Here are some sound examples to compare the clipping effect:
2. High and Low Cuts in M/S Mode
M/S processing is a technique that separates the audio signal into two components: the mid (center) and the side (stereo) information. The mid channel contains all the audio that is common to both the left and right channels (essentially the mono content), while the side channel contains the differences between the left and right channels (essentially the stereo content). This allows for more precise control over the stereo image of your mix.
Equalization in M/S mode allows for more targeted adjustments to different parts of the stereo field:

Mid Channel: Apply a low cut to remove unnecessary sub-bass frequencies, which can clutter the mix and occupy valuable headroom. Additionally, a high cut can help clean up harsh vocals or invasive high frequencies from instruments like hi-hats and guitars, maintaining clarity in the central image.
Side Channel: A more aggressive low cut can be applied to remove low-end frequencies from instruments like kick and bass, which may muddy the mix and impede the punch and groove. High cuts on the sides help eliminate conflicting high-frequency elements, allowing vocals to shine through more distinctly.
Remember, there's no fixed frequency point for these cuts; they should be adjusted by ear to suit the specific mix.
3. Multiband Compression
Since increasing loudness often reduces dynamic range, multiband compression is crucial for maintaining a balanced dynamic profile. Identify and compress the most dynamic frequency bands—typically, the kick and bass around 100-200Hz, and the mid-high frequencies (e.g., vocals and cymbals) around 4-5kHz. Adjust the release times to avoid interfering with the music's rhythm, ensuring it flows naturally without a pumping effect.

Properly controlling these dynamic bands results in a smoother overall mix, enabling a higher loudness level while maintaining musical integrity.
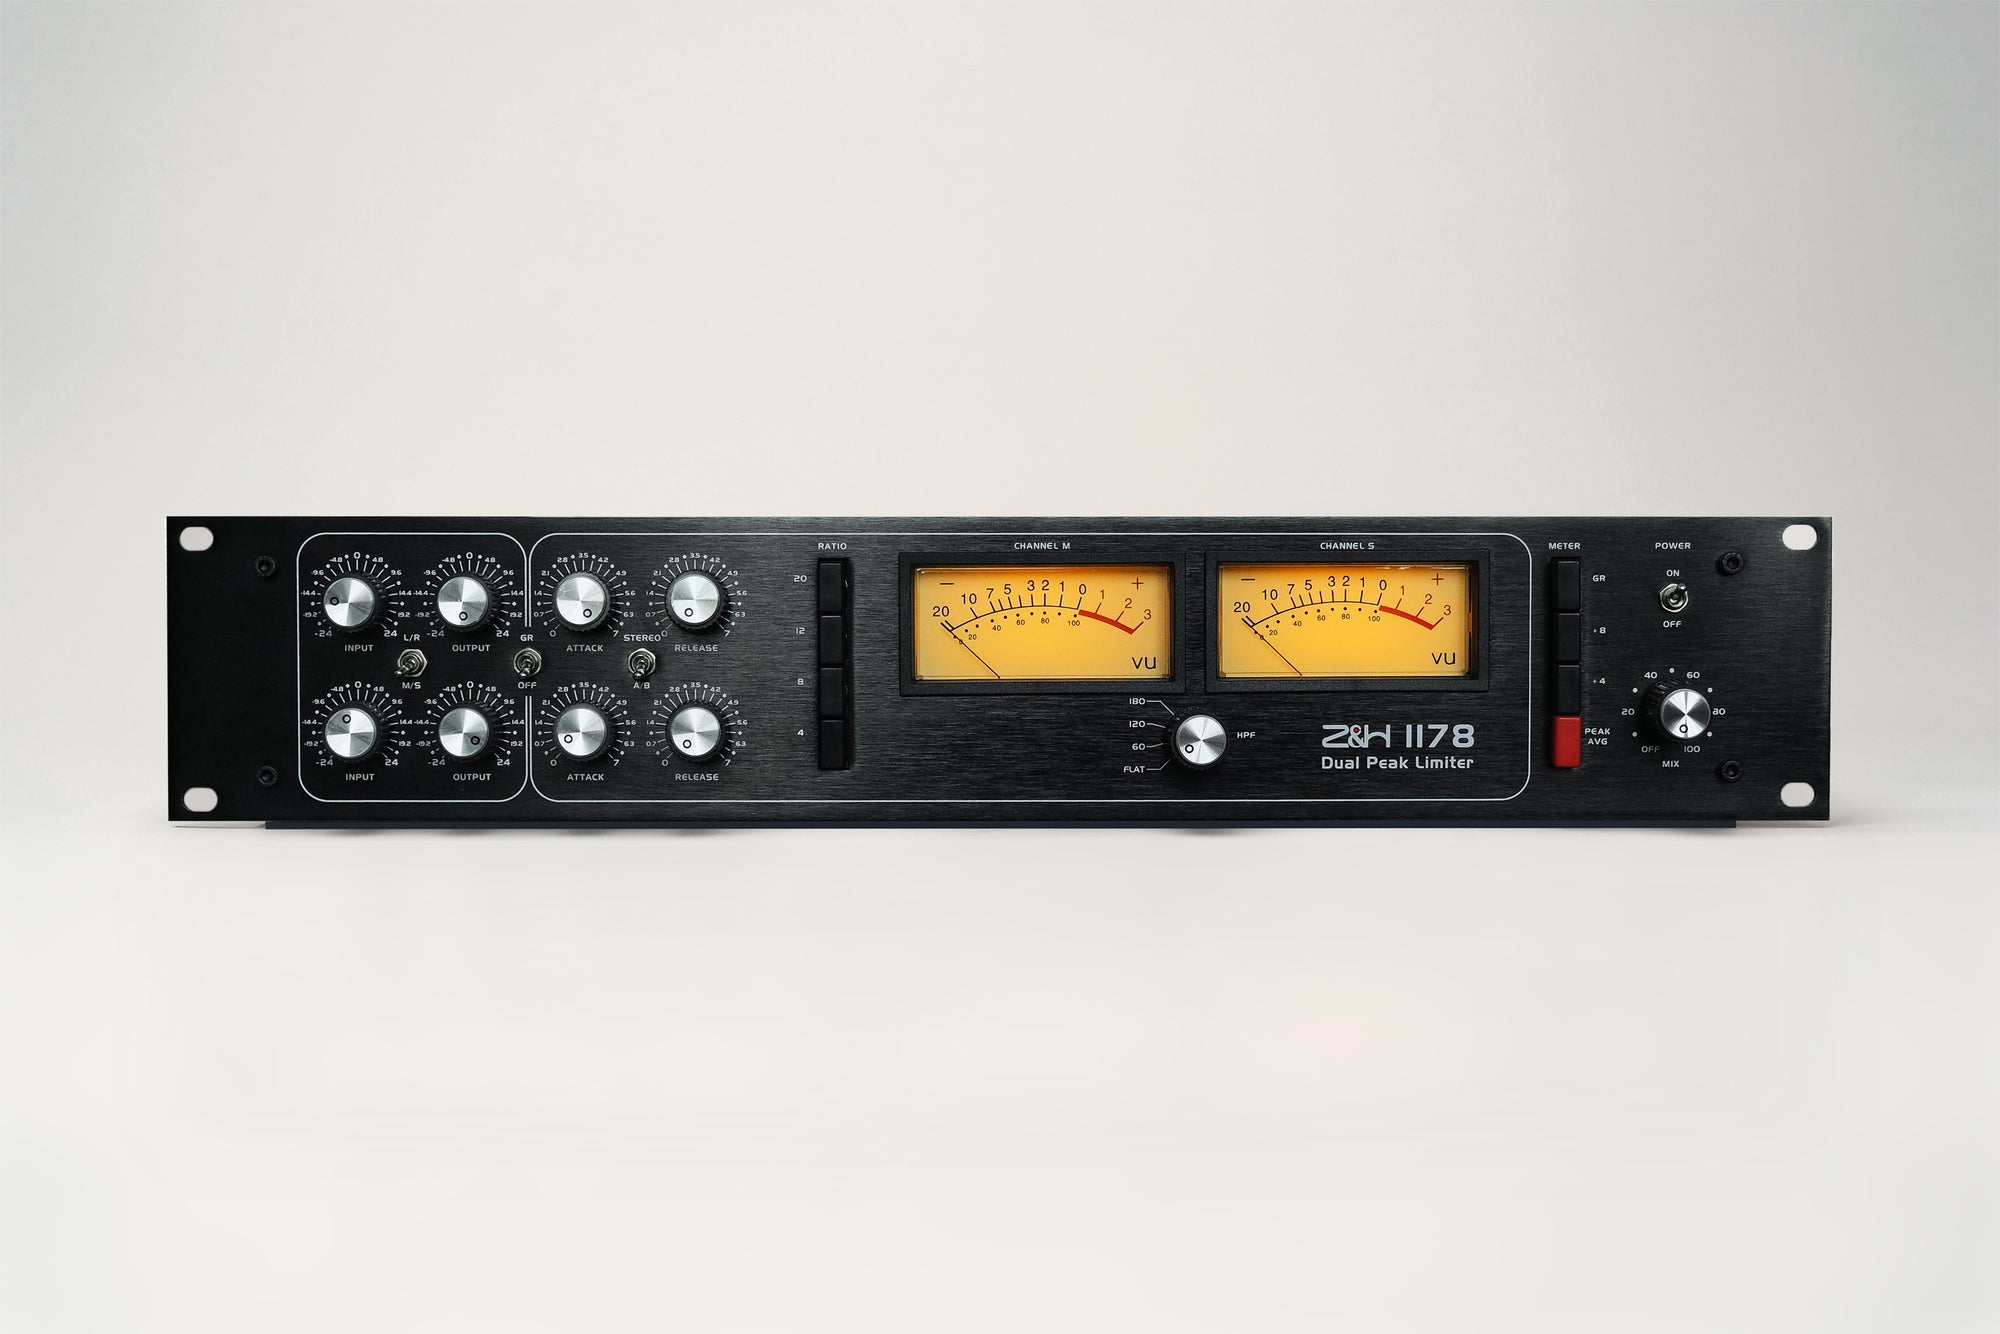
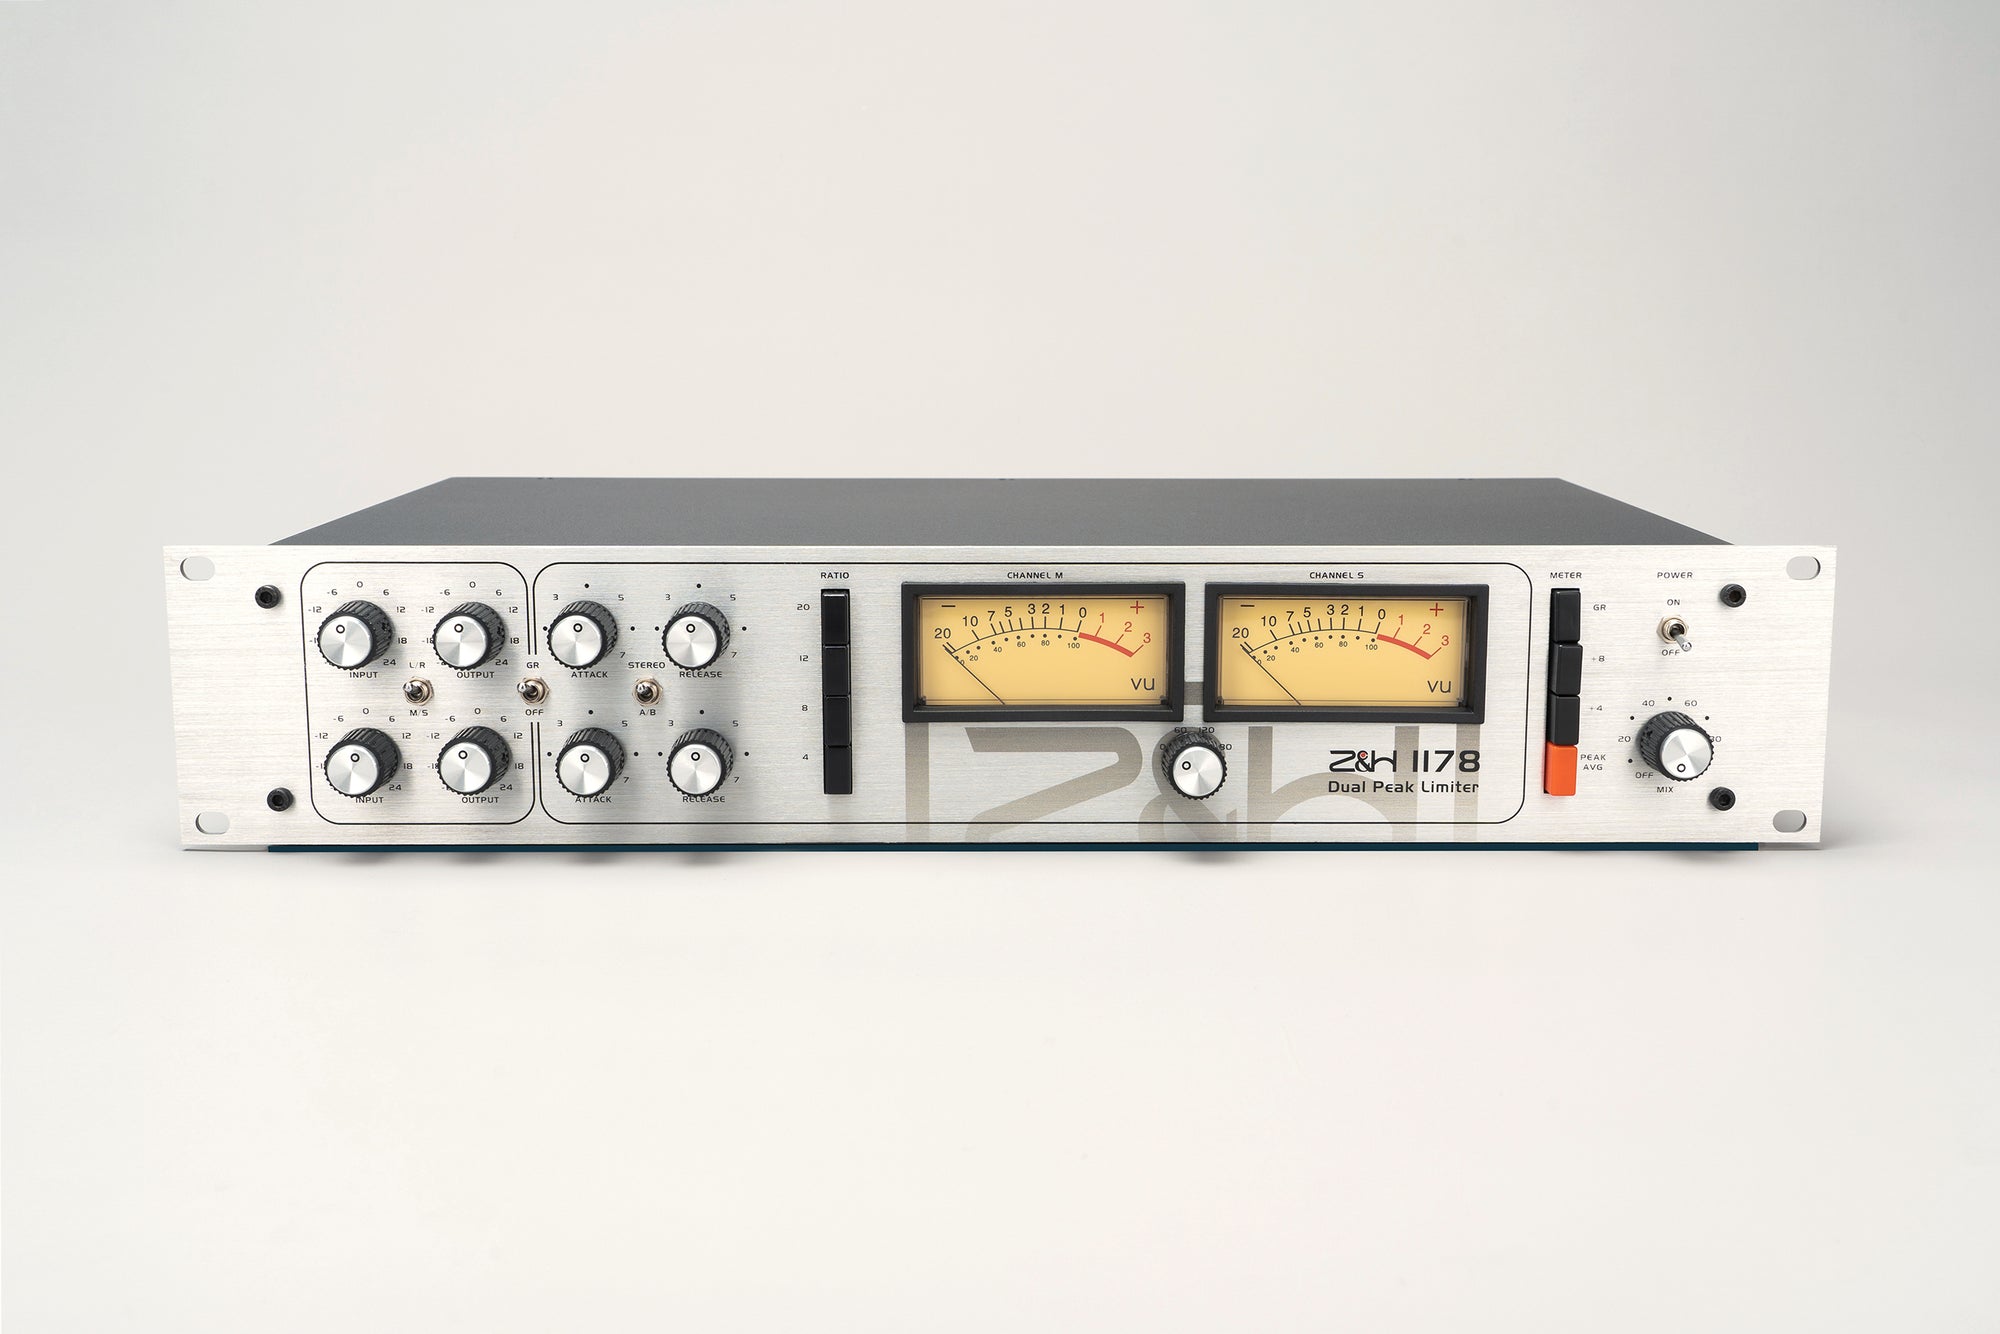
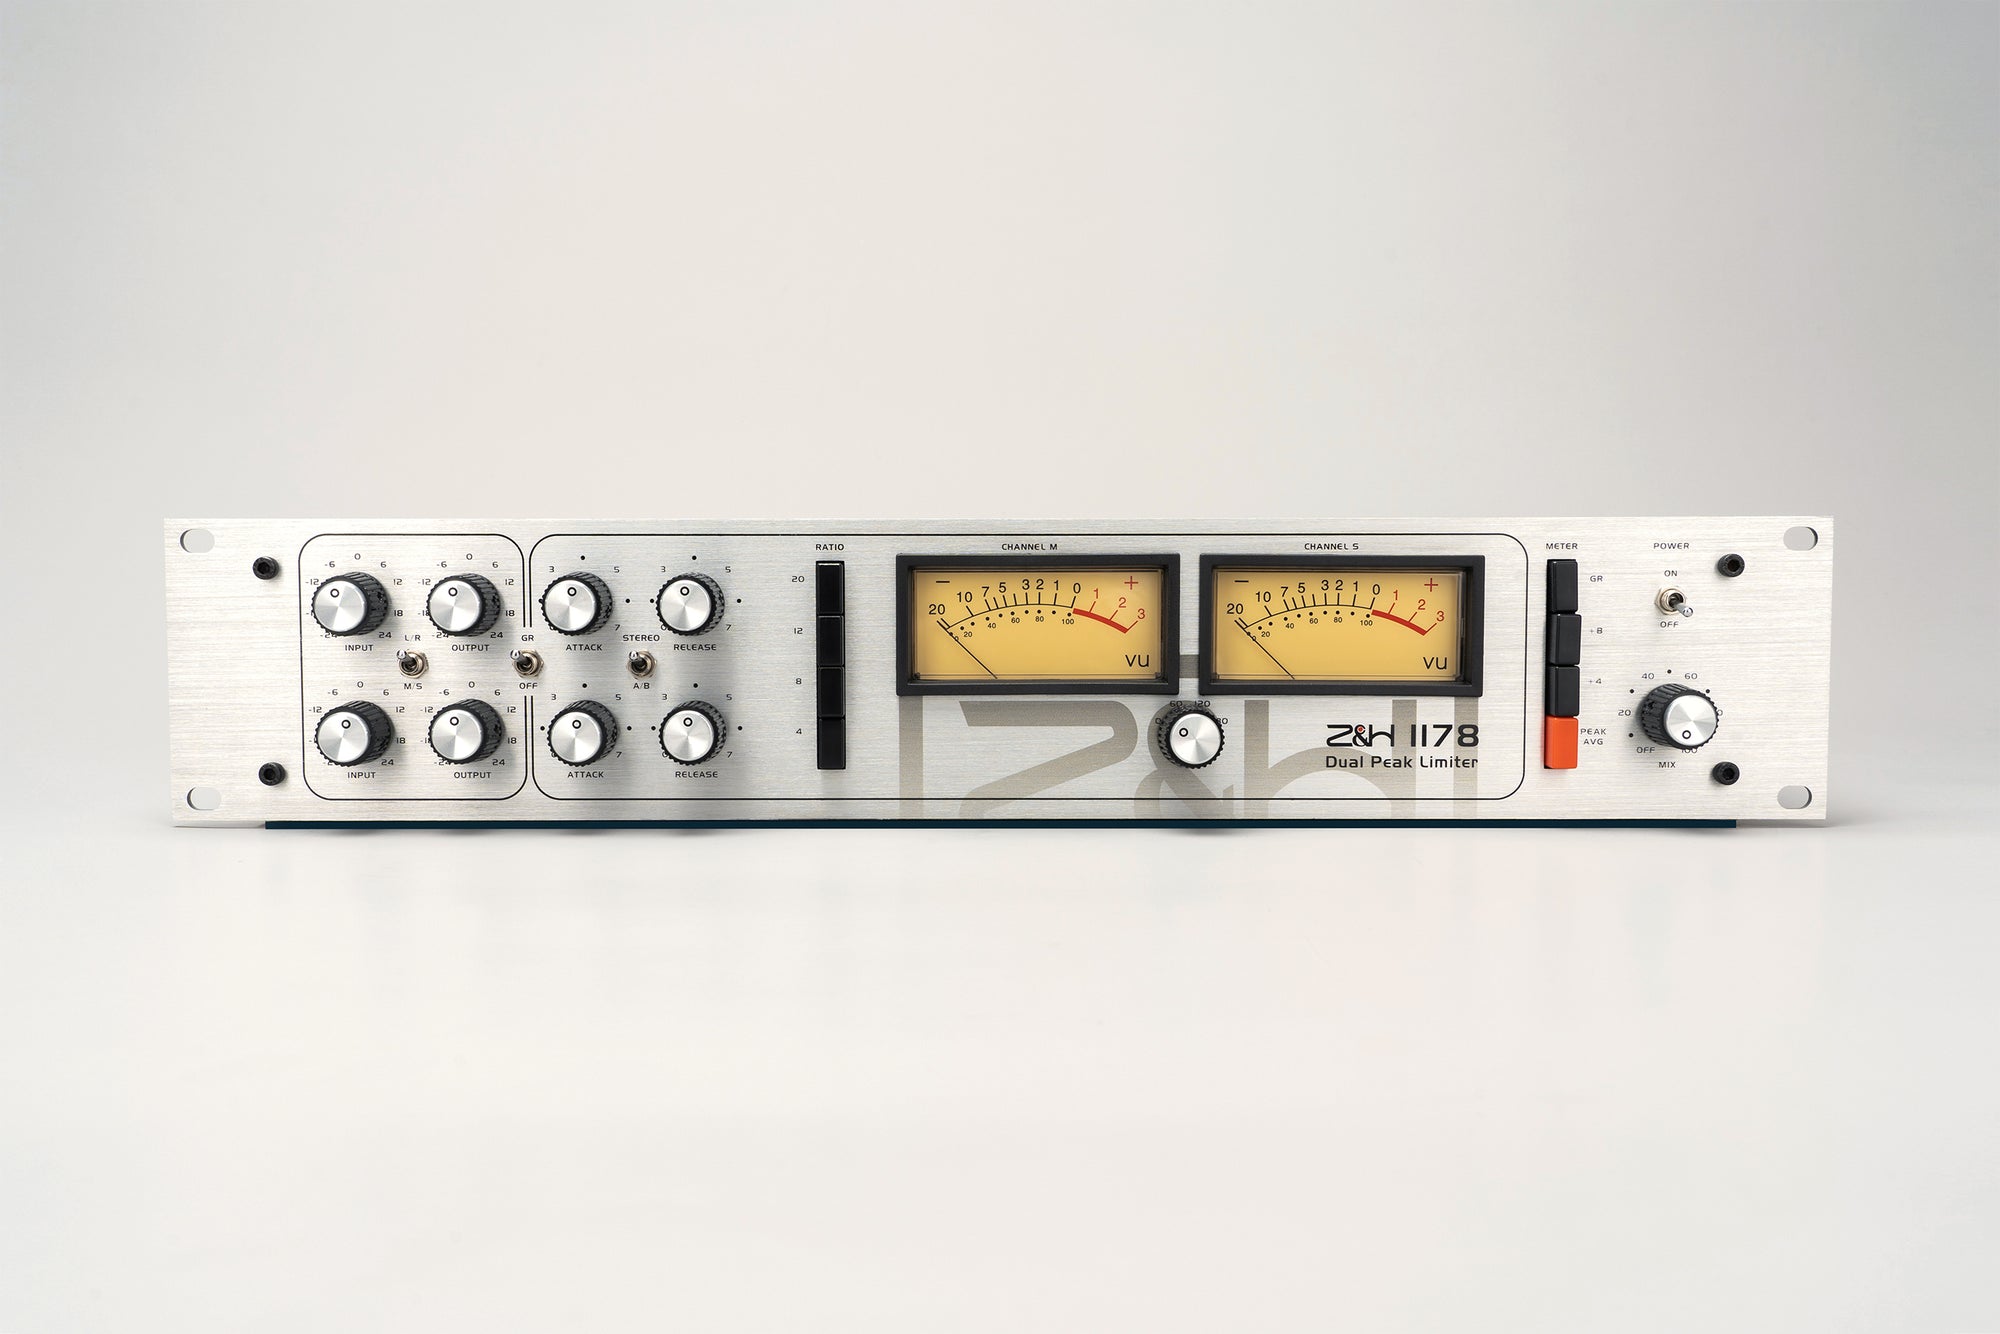
In real-life mixing, the workflow is often streamlined depending on the tool you use. Let’s hear some examples with an outboard compressor that comes with side-chain high-pass filter. Simply bypassing some low-end when compressing will make a lot of difference:
(High-pass filter on Z&H Designs 1178 Stereo Peak Limiter)
4. Harmonic colorisation
Harmonic colorisation is a powerful tool to increase perceived loudness by enriching the audio with additional harmonics. This technique involves subtly saturating the sound to make quieter parts more prominent without raising peaks.
Even-order harmonics typically add warmth and richness.
Odd-order harmonics tend to introduce a more aggressive, edgy sound.
Apply distortion carefully to avoid over-saturation and loss of clarity. Monitoring the frequency spectrum during this process helps ensure a balanced and enhanced sonic profile.
There are some plugins to add harmonics, while the most sought-after colorisation will have to be the hardware. For example, some vintage inspired graphic EQ will add harmonics to other bands when you push one band. Let’s listen to this example:
(Before & after with Z&H Designs V560 Graphic EQ)
By incorporating these techniques—clipping, M/S high and low cuts, multiband compression, and harmonic distortion—you can achieve a louder mix while preserving its musicality and dynamic character. Remember, the ultimate goal is not just to make the music louder but to make it sound better.

